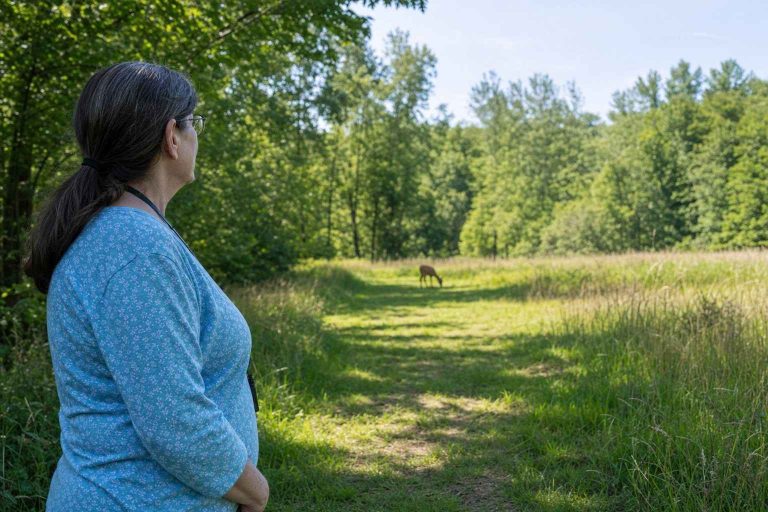
Getting truly lost on a marked day-hike trail is rare.
The fear is common; the event is not.
Most beginners picture wandering off into trackless wilderness. What actually happens is smaller and easier to fix.
You reach a junction, you’re unsure which way the trail goes, and you pause for a minute. That moment of doubt is not the same as being lost.
This guide is for the new hiker, especially anyone weighing a solo hike, who feels that worry before setting out. We’ll cover what phone apps do well, where they fail, and why a little planning at home still matters.
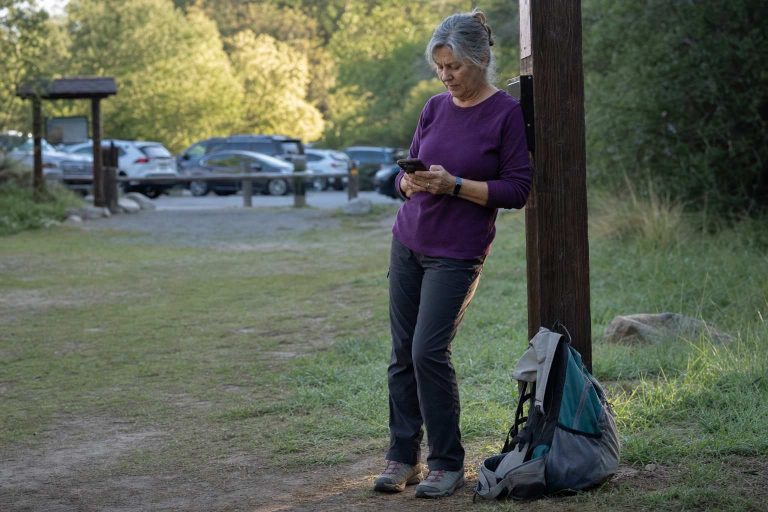
Your Phone Is a Good Navigator, With Two Real Weaknesses
A modern phone is genuinely capable on a trail. Apps like AllTrails and Gaia GPS show your blue dot on the map, track the path behind you, and warn you when you’ve drifted off-route.
For an easy, well-marked day hike, that’s often all you need.
But the phone has two failure modes worth taking seriously: battery and signal. Both are predictable, which means both are manageable.
Cold drains a battery faster than people expect. So does a screen left on, hunting for a weak signal all day. A phone that showed 80 percent at the trailhead can fade by early afternoon if you’re checking it constantly.
The fix is simple. Download your maps before you leave home, keep the screen off between checks, and carry a small power bank on anything longer than a couple of hours.
Signal is the second weakness. GPS positioning works without cell coverage, but the map underneath your dot does not load on the spot.
Open the app for the first time in a canyon with no bars, and you’ll see a blue dot floating on a blank grey screen. Useless, and unsettling.
Download your maps before you leave home, keep the screen off between checks, and carry a small power bank on anything longer than a couple of hours.
This is why offline maps matter. Both major apps let you save a region to your phone while you still have wifi at home. Saved maps work with no signal at all, and they’re the single most useful thing you can set up the night before.
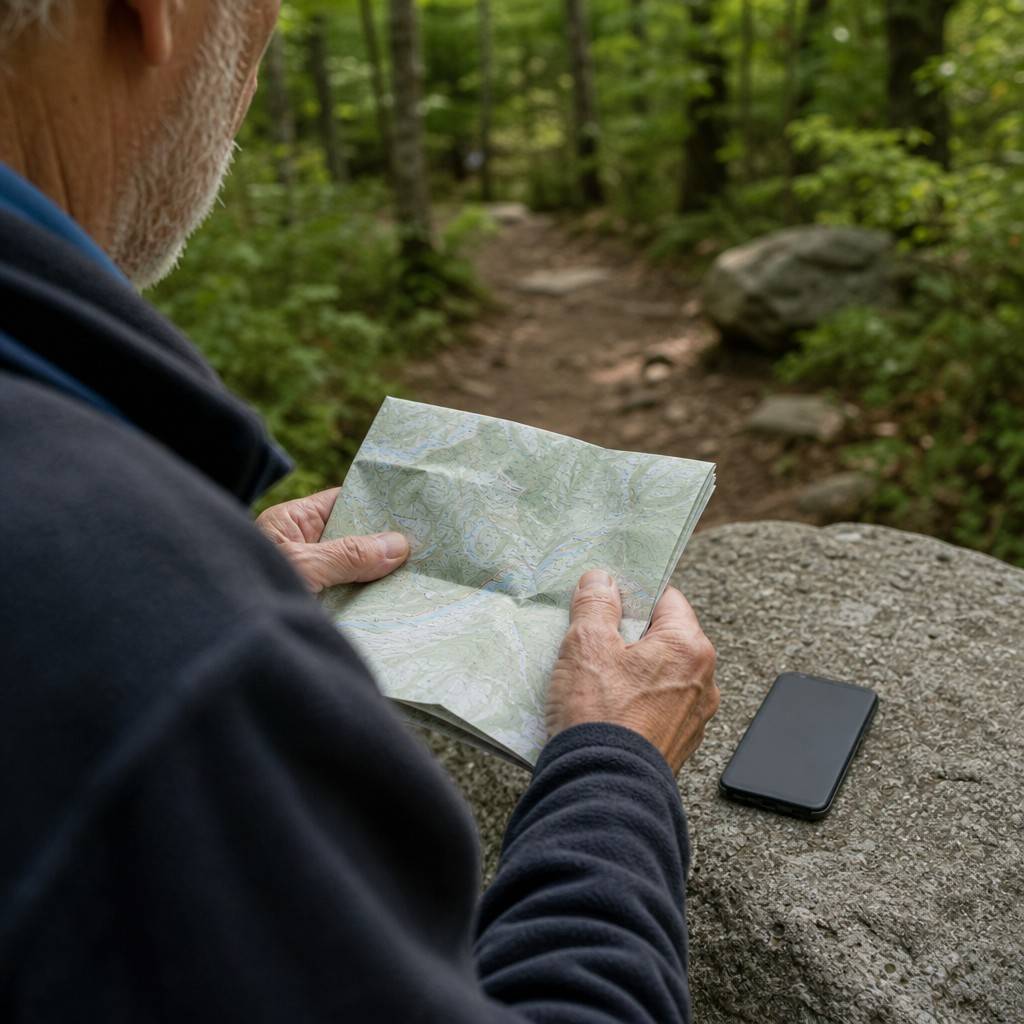
The Paper Backup Earns Its Place
A paper map sounds old-fashioned next to a glowing screen. It still belongs in your pack.
The reason isn’t nostalgia. A paper map never runs out of battery and never loses signal. It’s the backup that works precisely when your phone has stopped working.
You don’t need to be a map expert to use one. For a beginner day hike, a paper map does one job well. It shows the shape of the trail system, so a junction makes sense in context.
Most popular trailheads have a posted map board or a free paper handout. Photograph the board with your phone, and pick up the handout if there is one.
According to the National Park Service, two of the most effective ways to avoid trouble on a hike are planning your route before you head out and telling someone where you’ll be. A printed map and a quick text to a friend cost you five minutes. They cover the failure your electronics can’t.
A second navigation method that doesn’t depend on a battery is what separates a confident hiker from an anxious one.
Study the Route Before You Go
The best navigation happens at your kitchen table, not on the trail.
Spend ten minutes the night before looking at the route. Trace it with your finger. Notice where the trail forks, where it crosses a creek or a road, and roughly how far apart those landmarks sit.
You’re not memorizing turns.
You’re building a rough mental picture, so the real trail matches something already in your head.
This is also where you do the honest math on distance and time. Reading trail data before you go is the same habit that drives smart trail choice. Our guide on what to check when choosing your first hiking trail walks through the full sequence.
Here’s a principle that keeps short hikes short:
Your first hike should be 2-4 miles round trip, regardless of elevation gain.
A 2-mile loop gives navigation far fewer chances to go wrong than a sprawling network of intersecting trails. Pick the simpler route while you’re learning to read your own signals.
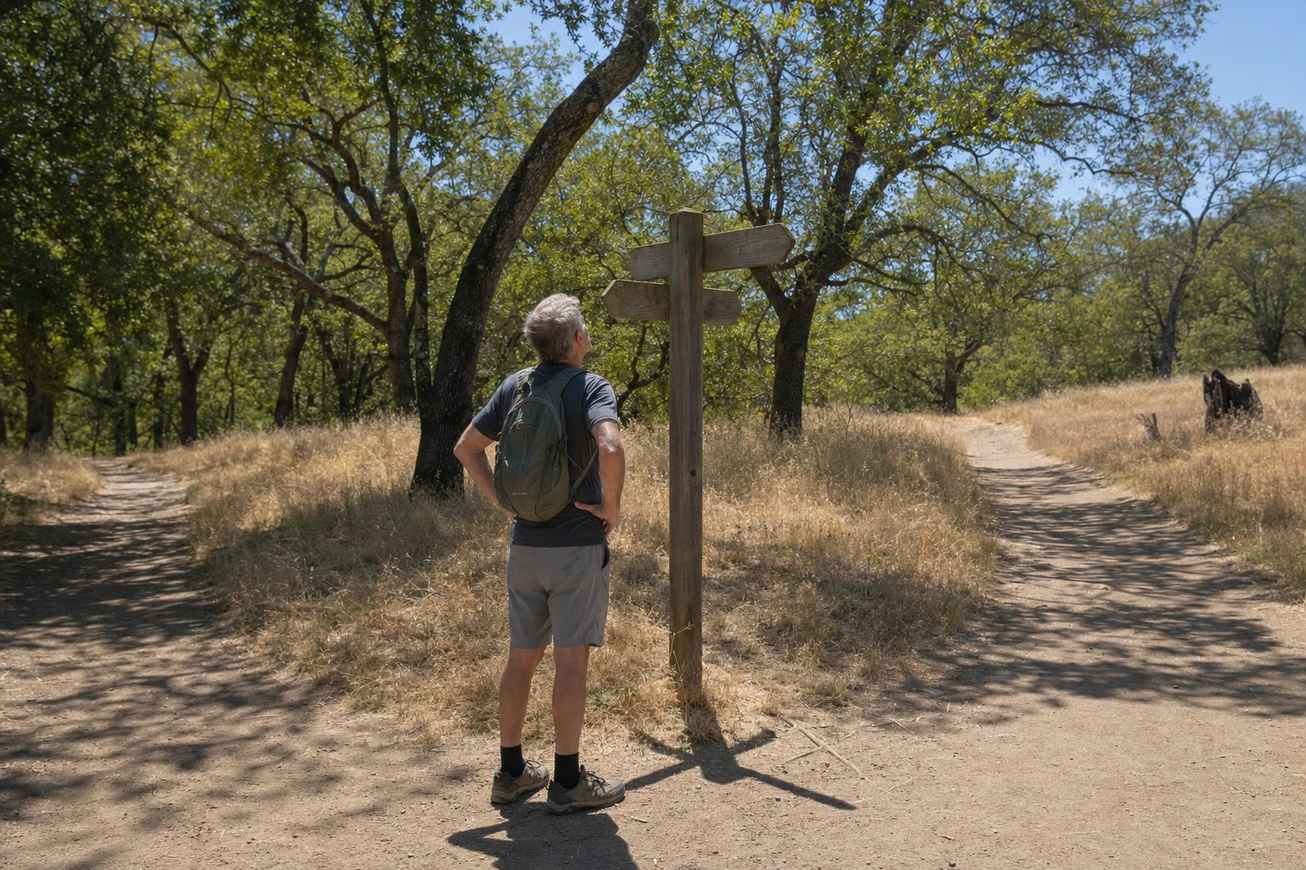
Junction Awareness: Where Beginners Actually Go Wrong
Real navigation mistakes almost always happen at one place. A junction.
You’re walking along, the trail splits, and you take the wrong branch without quite noticing. Ten minutes later something feels off, but you’ve already committed.
The habit that prevents this is small. At every junction, stop and confirm which way your trail goes before you walk on.
Check the signpost. Glance at your phone or paper map. Look for the trail markers, often colored blazes painted on trees or small metal tags. They confirm you’re still on the named trail you intended.
If a junction has no sign and your map shows nothing, that’s useful information. It usually means you’ve wandered onto an unofficial side path. The cleanest move is to walk back to the last spot you were sure about.
The American Hiking Society notes that staying on established, marked trails is one of the simplest ways recreational hikers avoid getting lost. Side trails and shortcuts are where the trouble starts.
The Moment You Feel Unsure: Stop
This is the part that matters most, so let’s lead with the reassurance. Feeling unsure of your location is normal, and by itself it is not dangerous.
What you do in the next two minutes decides everything.
The instinct is to keep walking and hope the trail sorts itself out.
That instinct is wrong. Walking while lost turns a small problem into a bigger one.
Do this instead. Stop the moment you feel unsure. Don’t take another step deeper into uncertainty.
Then look around calmly. Pull up your phone map and find your blue dot. Check whether you’re still on the marked line or off to the side.
If you’re off the trail, backtrack to the last point you recognized. The trail you came in on is still there behind you, and retracing it is almost always the right call.
Stop the moment you feel unsure. Don’t take another step deeper into uncertainty.
This is also why a conservative turnaround matters. Turn around at 50% energy, not when you’re tired. The return hike requires equal effort. A hiker with energy in reserve handles a wrong turn with a clear head; an exhausted one panics.
Solo hikers feel this worry most sharply, which is fair, and a few extra precautions go a long way. Our guide to staying safe on solo hikes over 50 covers telling someone your plan and setting a turnaround time before you ever leave the car.
Putting It Together for Your Next Hike
None of this requires gadgets or expertise. It requires a few minutes of preparation and one steady habit on the trail.
Before you go, save the offline map, photograph the trailhead board, and tell someone your route. On the trail, confirm your direction at every junction. If you ever feel unsure, stop and backtrack rather than pushing on.
Start with a short, well-marked loop and the navigation worries shrink to nearly nothing. Confidence on the trail isn’t the absence of doubt. It’s knowing exactly what to do the moment doubt shows up.