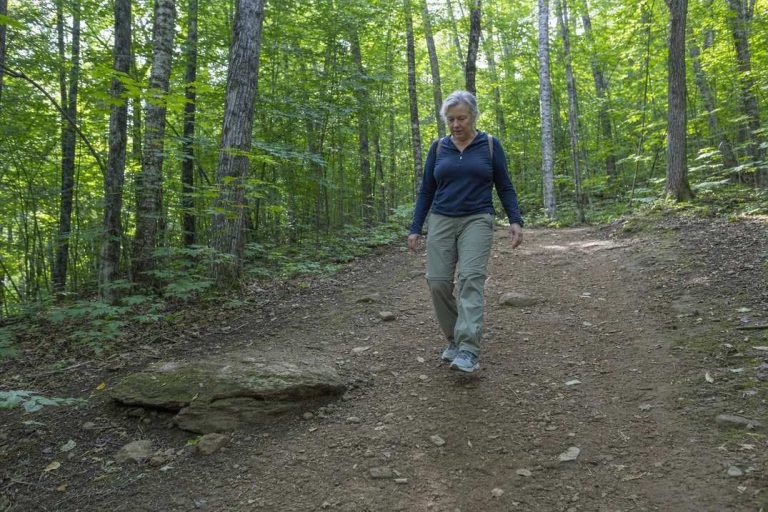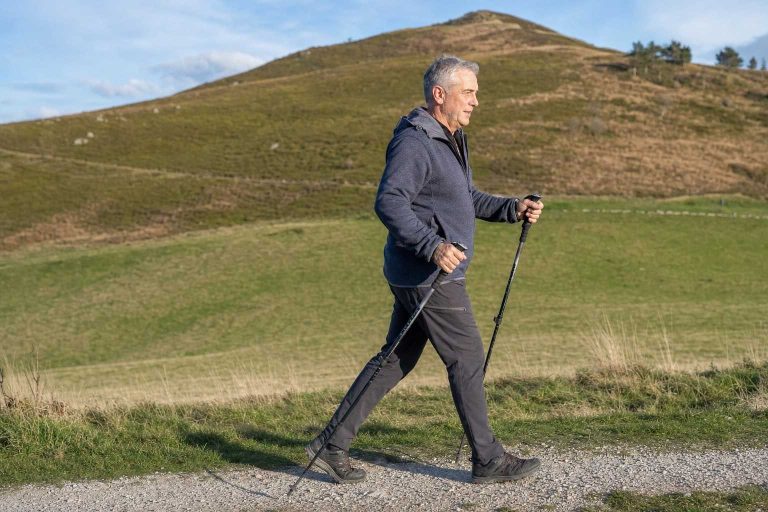
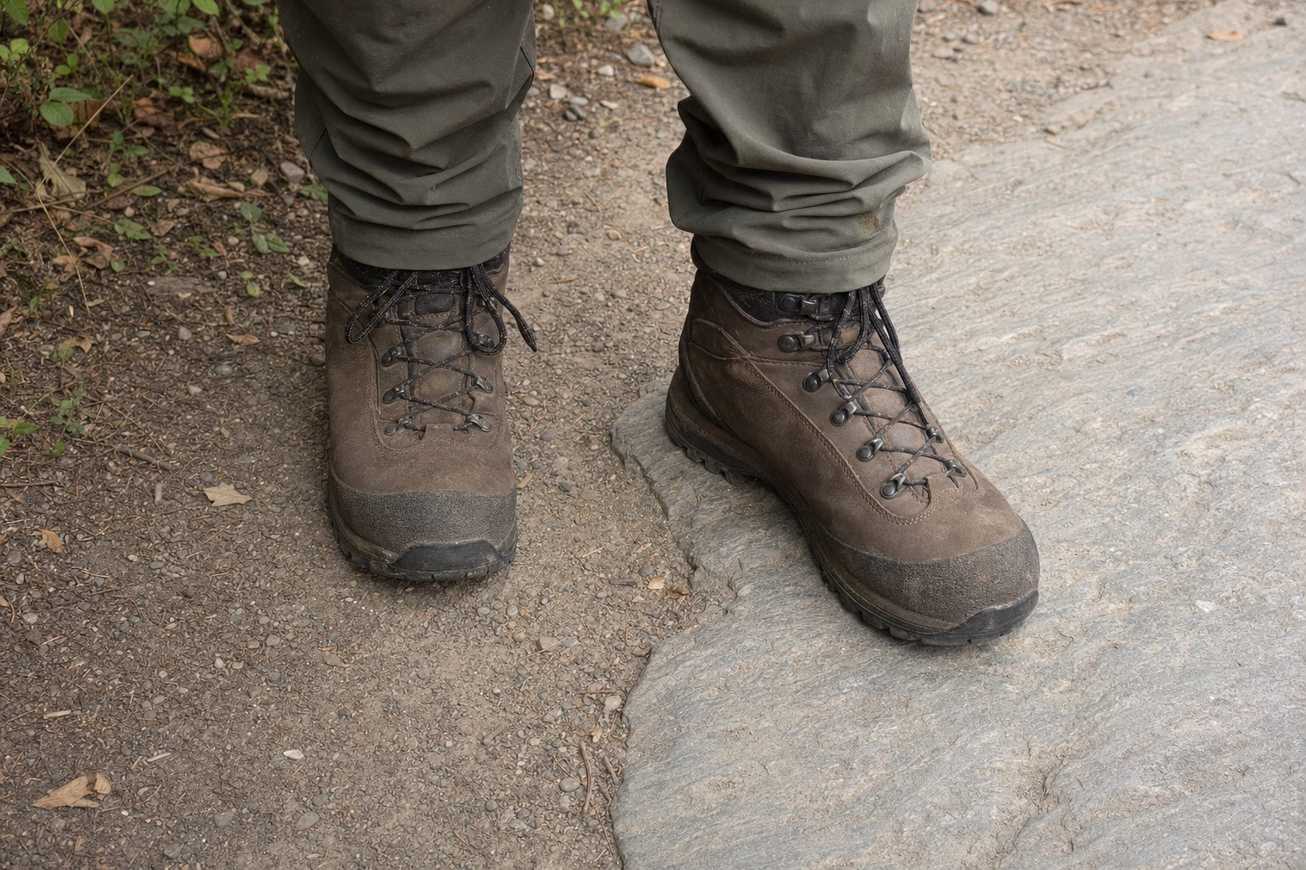
The trail changes under your feet before you’re ready for it. Packed dirt gives way to a scatter of loose rock, or a web of roots crosses the path where the ground used to be solid.
A practiced hiker slows down right there. They shorten their stride, look a step or two ahead, and let their weight settle before pushing off the next foot.
A newer hiker tends to keep the same pace straight through the change. The surface catches them off guard instead.
That gap, more than fitness or gear, is what makes uneven ground feel harder than it needs to.
Reading the ground before you step
Every tricky surface asks for the same handful of adjustments. You’re just applying them in a different order depending on what’s underfoot.
- Keep your weight centered over your feet, not leaning forward or reaching downhill.
- Take shorter steps on anything that shifts, so a slip costs you inches instead of feet.
- Test a rock, root, or log with light pressure before you commit your full weight to it.
- Go around an obstacle you can’t read clearly, rather than guessing your way over it.
Those four habits cover almost every tricky patch on an easy trail. What changes is which one matters most.
Loose gravel and packed dirt
Packed dirt is the forgiving surface. It holds your foot in place and rewards a normal stride.
Loose gravel is dirt’s less reliable cousin. A layer of small stones sits on top of a harder surface, and either layer can slide independently of the other.
Flatten your foot placement on gravel instead of striking heel-first. A flat foot spreads your weight across more of the loose surface, so it’s less likely to roll out from under you.
Shorter steps help too.
A long stride gives the stones more distance to shift before your foot settles. More distance means less control.
Downhill gravel deserves extra caution. Gravity is already pulling your weight forward and down before the stones even move.
Exposed roots and uneven rock
Roots and rock share a hazard. Hikers stop watching their feet as soon as the trail looks stable again.
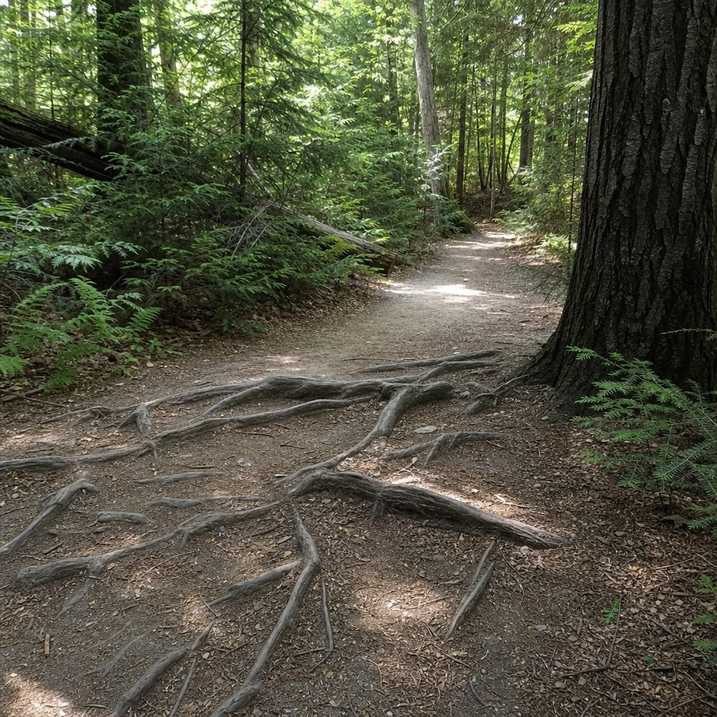
Treat a root crossing the trail the same way you’d treat a curb you can’t quite see the height of. Look for it, lift your foot enough to clear it, and place your foot flat on the far side.
Wet or shaded roots are slicker than they look, even on a dry-feeling day. Moisture holds in bark longer than it holds on open dirt.
Rock works the same way, with one addition. Check for wobble before you step, every time, even on a rock that looks planted.
A rock that shifts under light pressure will shift more under your full weight, usually at the worst moment.
Give the ground a second look on shaded sections, where the surface stays damp long after the sun has dried everything around it.
A rock that shifts under light pressure will shift more under your full weight, usually at the worst moment.
Wet rock and stepping-stone crossings
Water is where footing mistakes get expensive, even on a shallow crossing.
According to the National Park Service, the safest place to cross moving water is usually a straight section between bends. That’s where the current runs even instead of pushing you sideways.
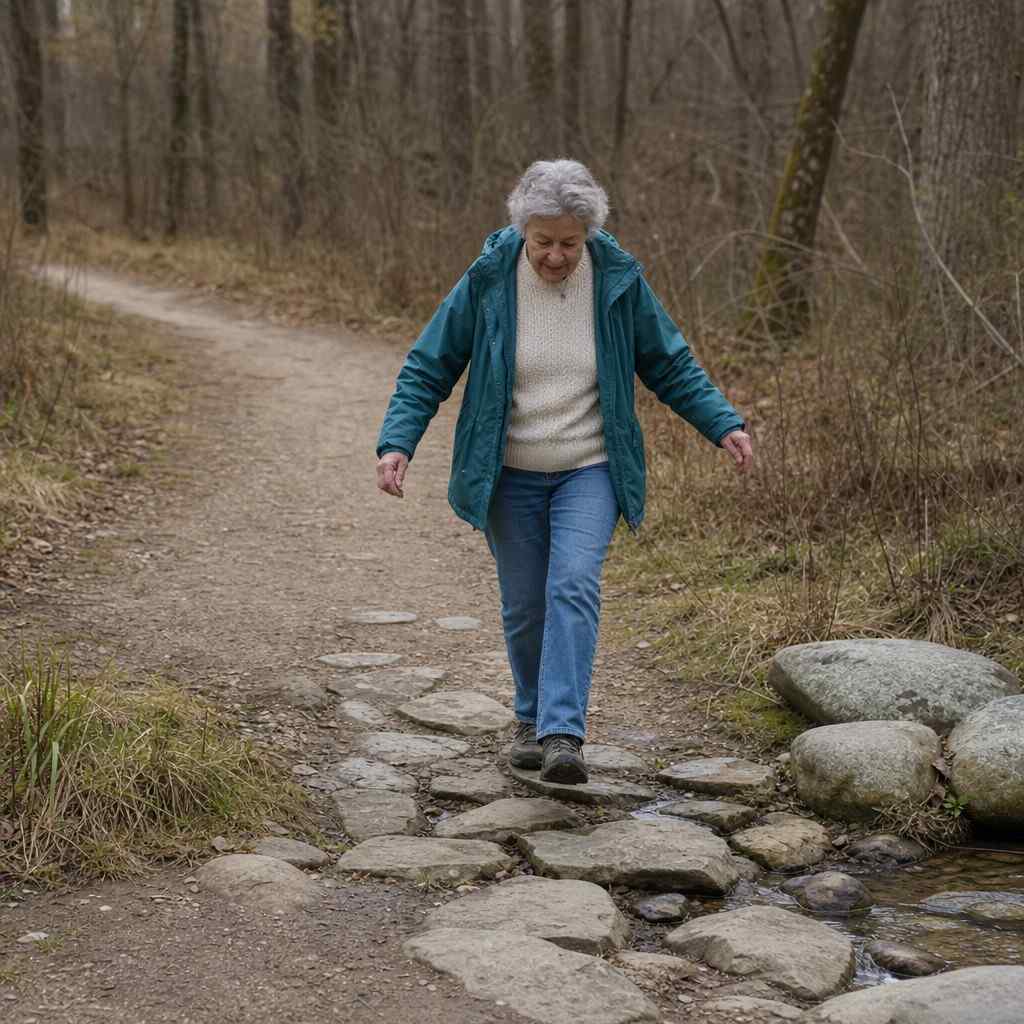
For a shallow, rock-hop crossing, that translates to picking a spot where the stones sit close together. The water shouldn’t be pushing hard against your ankles.
Test each stone before you shift your weight onto it, the same way you’d test a loose rock on dry trail.
Wet rock in a streambed carries a thin layer of algae that dry rock never has. That layer is often more slippery than the water itself.
If a stone looks coated, mossy, or too far apart to reach comfortably, that’s your answer. Walk the bank until you find a better line, or turn back.
Bare feet make this worse, not better.
The National Park Service notes that crossing barefoot removes traction. It also exposes your feet to whatever sits under the surface, from submerged rocks to sharp debris.
Walking through mud instead of around it
Mud produces an odd urge: skirting the edge to keep your boots clean.
That instinct backfires twice. The ground beside the trail is usually softer and less predictable than the mud itself.
Skirting a wet patch is exactly how a trail gets wider over time.
According to the American Hiking Society, hikers should walk through mud and puddles rather than around them, to avoid widening the trail.
Mud rewards the same footing habits as everything else here. Shorter steps, weight centered, and a flat foot placement instead of a heel-first strike that can slide forward.
A boot with decent tread does more for you in mud than any technique does. If your boots are still new, getting them broken in properly beats testing them out for the first time on a muddy trail.
Footwear does half the work
Technique only goes so far if your shoes give you nothing to work with underfoot.
A grippy, low-profile sole often reads wet rock and loose gravel better than a stiff, heavily lugged one. That’s part of why the comparison between trail shoes and boots for beginners over 50 keeps coming up.
The right pair of supportive hiking insoles keeps your foot from sliding forward inside the shoe on a long descent. That’s its own kind of footing problem.
A foot that moves inside the shoe undoes some of the careful stepping you just worked through above.
Why this matters more after 50
Balance and reaction time shift with age. That’s biomechanics, not a verdict on your hiking ability.
According to the American Hiking Society, an ankle usually rolls inward while walking on uneven ground, not on flat ground. That’s why footing technique matters more here than raw fitness does.
Most ankle sprains happen on descents, not climbs. Slow down going downhill.
That single habit, easing your pace on the way down, prevents more injuries than any stretch or brace.
Slowing down on a descent isn’t caution for its own sake. It’s the technique itself.
Where to practice this
Footing technique is a skill, and skills need reps on manageable ground.
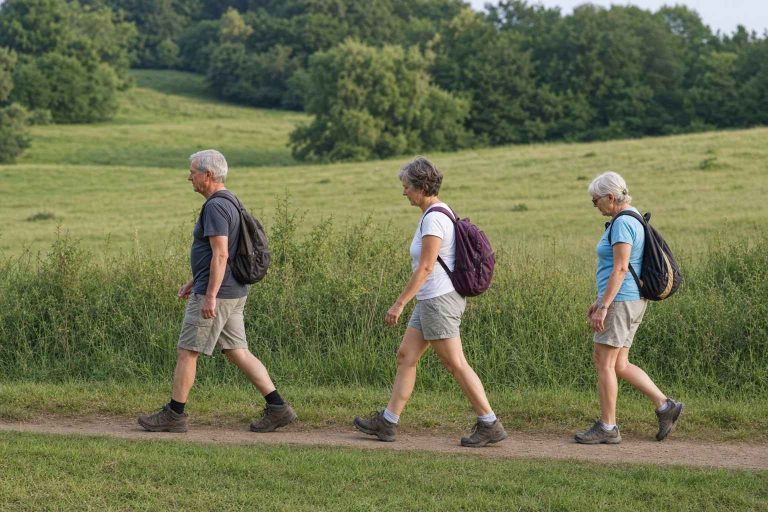
Your first hike should be 2-4 miles round trip, regardless of elevation gain. That length gives you plenty of surface changes to read without wearing out your legs before your feet have learned anything.
Look for trails that mix surfaces in a short distance, rather than one long, monotonous stretch of gravel.
- A local nature preserve loop with a boardwalk section leading into packed dirt.
- A state park trail that crosses one small footbridge or a short run of stepping stones.
- A multi-use path that transitions from pavement to a natural surface partway through.
Each one hands you a real surface change to read, at a distance short enough that a slow, careful pace costs you nothing. Start there, and the trickier terrain further down the trail system stops feeling like a guessing game.