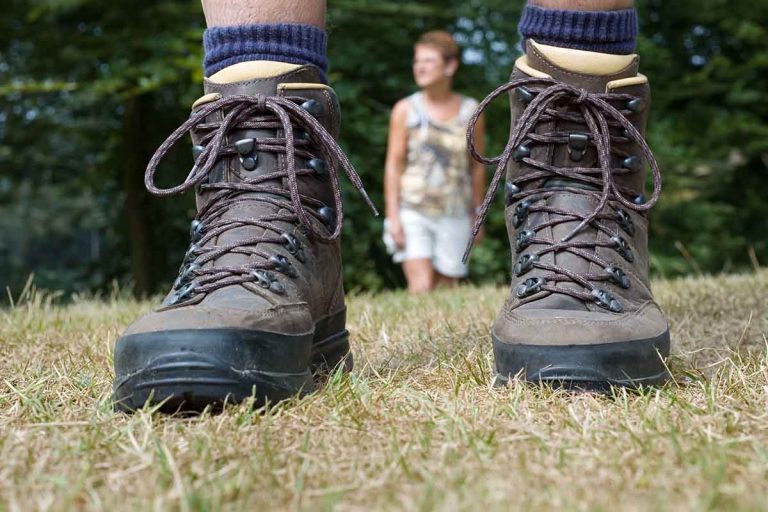
A foot lands on the grassy verge beside a paved path, and the ankle rolls half an inch before catching itself.
Nothing happens.
No fall, no pain, just a half second wobble that used to be automatic and now takes a flicker of effort to correct.
That flicker is balance quietly asking for attention.
It happens on a curb, a garden edge, a sidewalk seam. Somewhere between fifty and sixty, the recovery gets a fraction slower. Most people don’t notice until a real trail asks more of that same reflex.
This is not a warning that hiking is off the table.
It’s a training gap, and training gaps close with practice.
Why balance fades before you notice it
Balance is not a switch that flips off. It’s a slow leak, and it starts well before it becomes obvious on flat ground.
According to Cleveland Clinic, muscle mass and strength decline with age, and reaction time slows too. Those changes affect balance directly, which is part of why a small stumble becomes more likely to turn into a real loss of footing.
None of that is a verdict on your hiking. It’s a description of what to train.
Balance responds to practice at almost any age, the same way strength and flexibility do. Cleveland Clinic points to staying active as one of the biggest factors in keeping it, ahead of any single exercise on its own.
Balance is trainable, not fixed.
Three drills for the kitchen counter
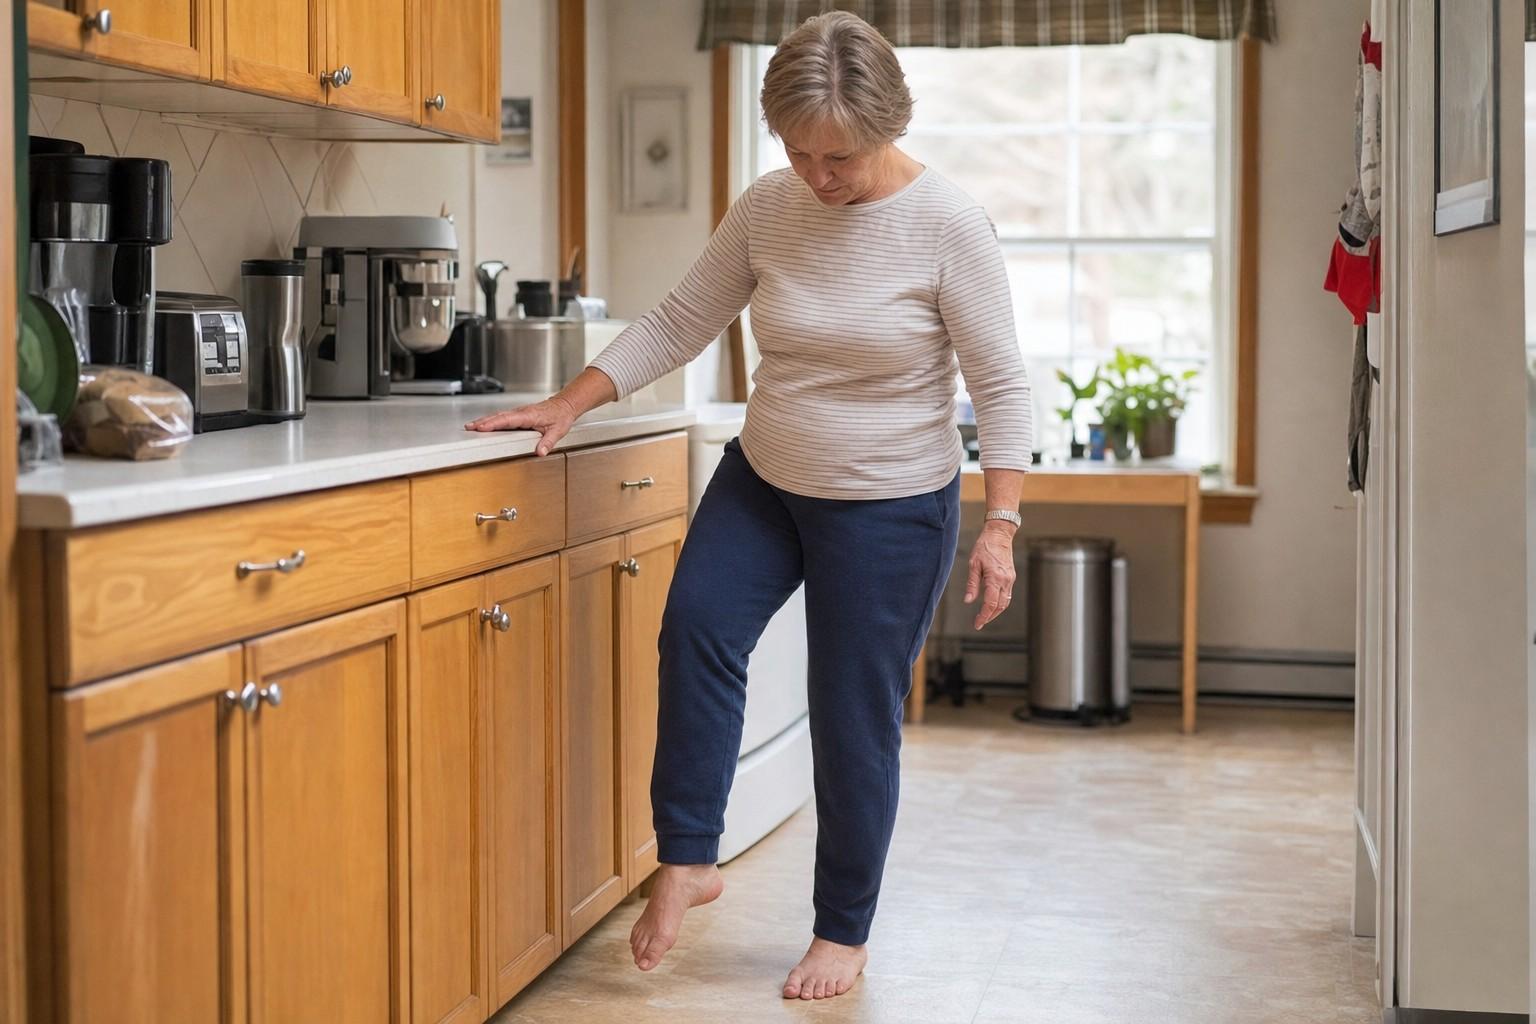
You don’t need a gym membership or special equipment for any of this. A sturdy counter, wall, or chair back is the only gear involved, and it should stay within reach the whole time.
- Single leg stands. Hold the counter lightly, lift one foot a few inches off the floor, and hold for up to ten seconds. Cleveland Clinic recommends working up to three sets per side, using a chair or counter for extra support when you first start.
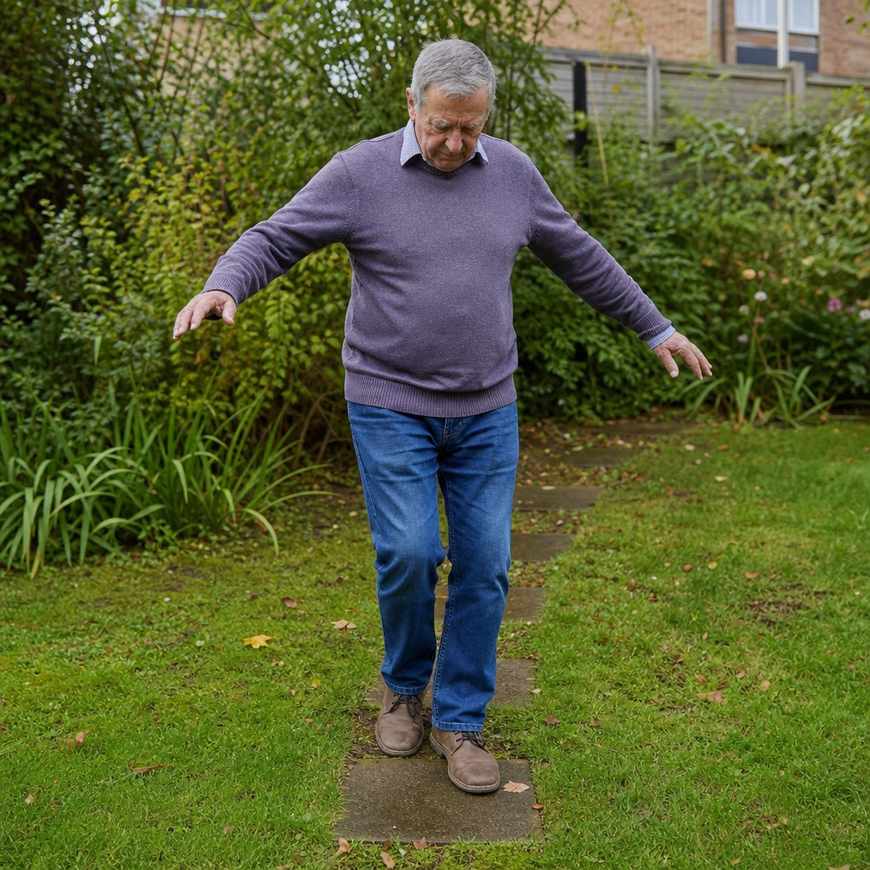
- Heel to toe walking. Place one foot directly in front of the other, heel touching toe. Walk a straight line the length of a hallway, with a wall close by. This tandem stance move mimics the narrow, uneven foot placements a trail asks for.
- Eyes closed progressions. Once the first two feel easy with your eyes open, try the single leg stand again with your eyes closed. Keep one hand resting on the counter. Closing your eyes takes away one of your balance systems, and forces your feet and inner ear to do more of the work.
Stop the moment you feel unsteady, and hold on rather than catching yourself with a step.
Every one of these drills happens within arm’s reach of something solid.
That’s not a beginner caveat. It’s the whole method.
Why this training matters on uneven ground
A kitchen floor is flat and predictable. A trail is not, and that difference is exactly the point of practicing indoors first.
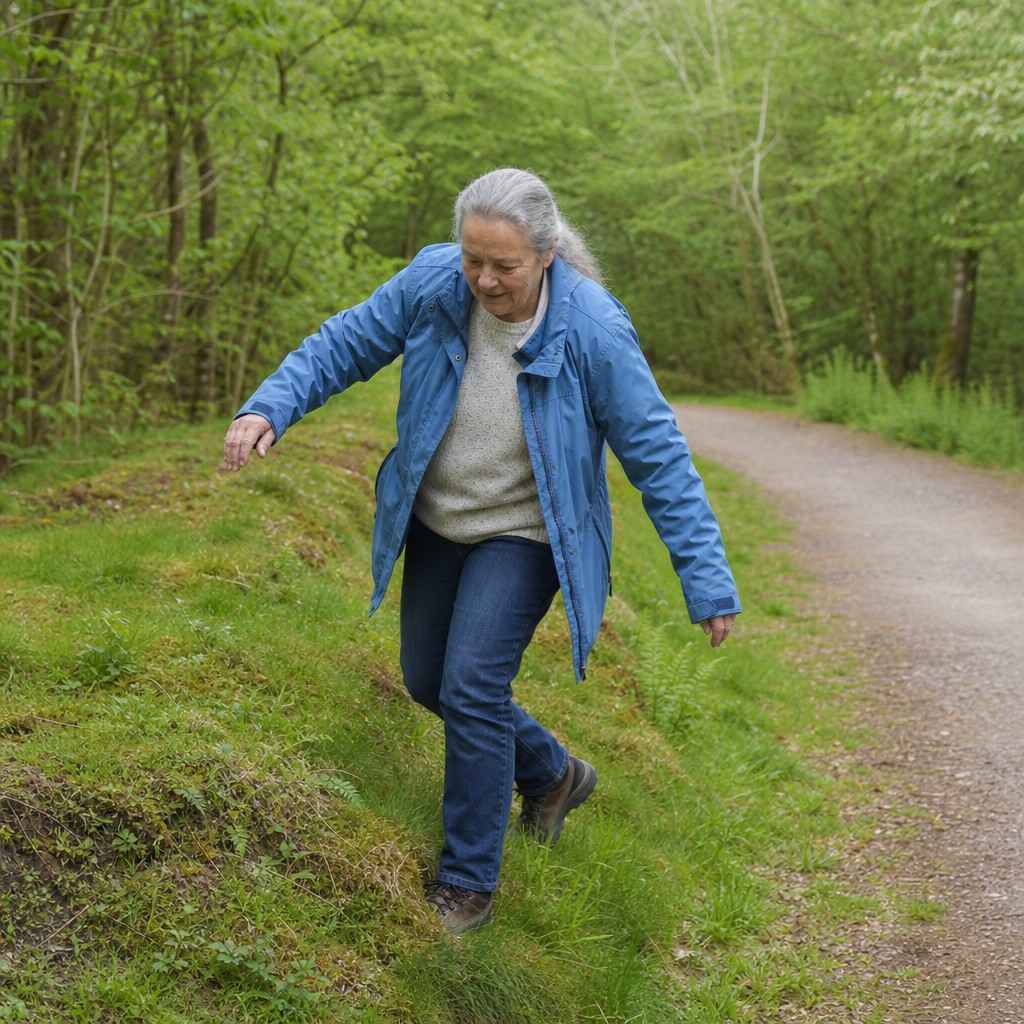
According to the American Hiking Society, most ankle sprains happen when a foot rolls inward while walking on an uneven surface. A grassy verge, a root, or a canted rock can each trigger that same inward roll in an instant.
That’s only half of the defense. Reading the ground before you step covers the surface by surface technique for gravel, roots, and wet rock. Balance training is the other half: the strength and reflex that catches a roll your eyes didn’t see coming in time.
Most ankle sprains happen on descents, not climbs. Slow down going downhill.
A tired leg paired with untrained balance is exactly the combination that turns a small wobble into a real sprain. The fuller sequence for protecting your joints on the way down lives in downhill hiking technique that protects your knees and ankles.
A grassy verge, a root, or a canted rock can each trigger that same inward roll in an instant.
A rolled ankle is one entry on a longer list. Common hiking injuries over 50 and how to prevent them covers the rest of it.
Bring it to the trail gradually
Home practice earns its value on the trail, but the transfer should happen in small doses, not all at once.
Start with trails under 300 feet of elevation gain for your first five hikes.
That principle exists for legs and lungs, and it works just as well for balance. Gentle terrain lets new reflexes get tested at low stakes, before a longer or steeper trail asks more of them.
Good candidates for early practice:
- A flat, well maintained loop with one short gravel or dirt stretch
- A local park path that briefly leaves pavement for packed dirt
- A trail you’ve hiked before, so surface changes aren’t a surprise on top of a new route
A trekking pole adds a third point of contact while your balance is still building trust in itself. Trekking poles built for stability and an easy length adjustment are worth a look if that extra margin gets you out the door sooner.
Where do you stand? A two minute self test
Here’s a simple version of a test physical therapists use, based on Cleveland Clinic guidance. It takes about two minutes standing near a counter or wall.
- Stand with feet together for ten seconds. No support if it feels stable, a light hand on the counter if it doesn’t.
- Stand on one leg near that same support, and count how many seconds you hold it before touching down, up to ten.
- Repeat on the other leg. Most people aren’t perfectly even between sides, and that’s useful information on its own.
According to Cleveland Clinic, clinicians use this same ten second single leg hold as a quick marker of overall stability and fall risk. It’s not a diagnosis on its own, just a simple number that tends to track with how steady someone is day to day.
A short hold time isn’t a diagnosis. It’s a starting number, and it’s the same number the drills above are built to move.
If you held ten seconds on both sides without touching down, your balance is already doing its job on flat ground. The drills above are about carrying that same steadiness onto uneven trail ground.
If you didn’t, that’s useful information, not bad news.
Start with the counter drills a few times a week, and try the test again in a month.
This is general fitness information, not medical advice. If you have a history of falls, dizziness, or a joint or neurological condition, check with your doctor before starting a new balance routine.