Why learn to read a paper trail map when your phone already shows you the route? Because the map itself teaches you something the blue dot never will. It shows you what the trail actually does before you’re standing on it.
Once you can read contour lines, scale and a handful of key symbols, any trail map becomes a preview of your hike. It stops being just a dot moving across a screen.
Learn those three things and a trail map turns into a plan you can trust, not a mystery you follow blindly. That skill works the same whether you’re holding paper or looking at your phone.
What contour lines tell you about your knees

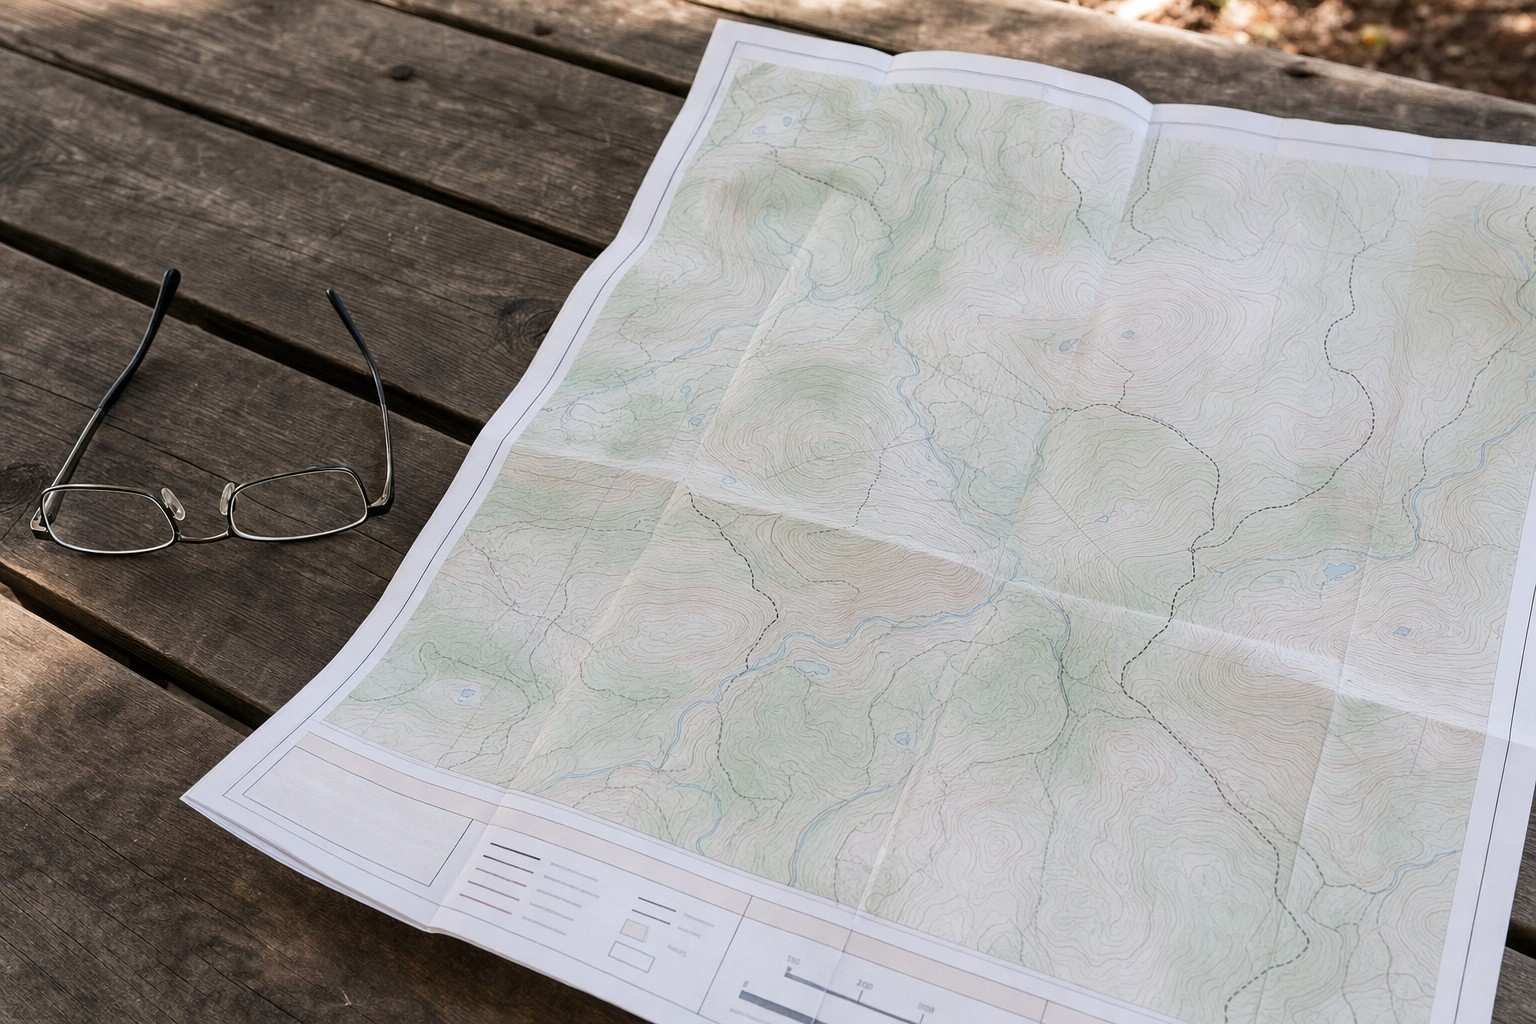
Contour lines are the wavy rings printed across a topographic map. According to the National Park Service, topographic maps use contour lines to show elevation across the land.
Each line connects points sitting at the same height. Tightly packed contour lines mean a fast climb. Lines spread far apart mean the ground barely changes.
That matters more for your knees than the total mileage does. A short, steep pitch can strain joints more than a long, gentle stretch ever will.
That is also the basic idea behind how a trail’s difficulty rating gets calculated: how much elevation shows up in how little distance.
Start with trails under 300 feet of elevation gain for your first five hikes.
Reading the contour pattern before you leave home gives you that number without any app crunching it for you.
What the map’s scale tells you about distance and time
Every map carries a scale, usually a small bar or a ratio like 1:24,000. It’s the difference between an inch of paper and the actual distance that inch represents on the ground.
You don’t need to do the math by hand. Most trail maps and apps print the total mileage right on the route, or let you measure between two points with a tap.
A mile on the trail almost always takes longer than a mile on your neighborhood sidewalk. Elevation gain and uneven footing both slow you down, so budget more time than the distance alone suggests.
Working that pace out ahead of time is part of what to check before picking your first trail. Do it alongside the elevation number the contour lines already gave you.
Your first hike should be 2-4 miles round trip, regardless of elevation gain.
A short, steep pitch can strain joints more than a long, gentle stretch ever will.
The legend symbols worth knowing
Most trail maps come with a legend, a small key explaining every icon on the page. You don’t need to memorize the whole thing.
For an easy day hike, a handful of symbols do almost all the work:
- A parking or trailhead icon, so you know exactly where the hike starts
- A water symbol, marking a fountain, restroom, or seasonal creek crossing
- A numbered post or junction dot, showing where trails cross each other
- A viewpoint marker, if you’re hiking toward a specific overlook
Symbols for campgrounds, ranger stations and backcountry zones matter far more on multi-day trips than on an easy day loop. Skim past those for now.
Matching blazes and markers to what’s on the map
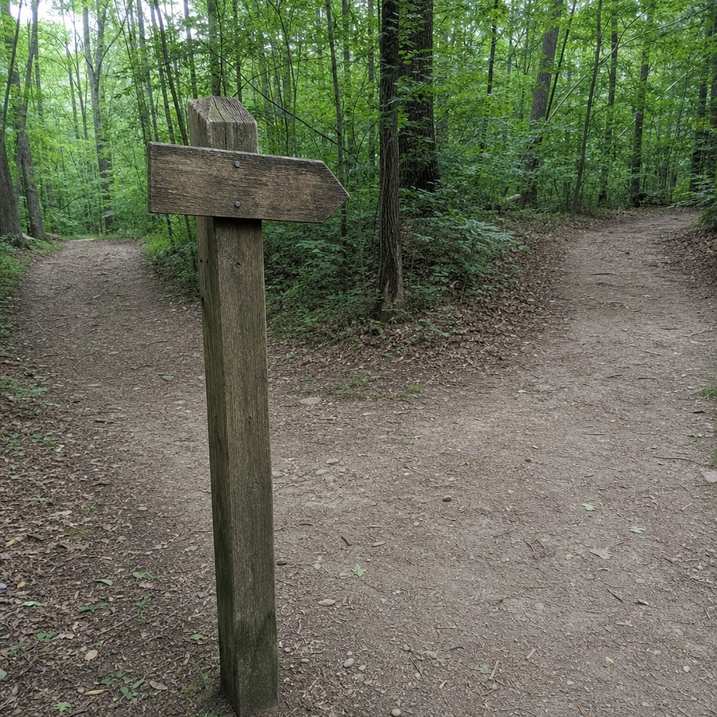
Once you’re actually on the trail, the map’s symbols have to match something real in front of you. That’s the job blazes and markers do.
A blaze is a small painted mark on a tree trunk, usually a color specific to that trail. A marker is a post or metal tag, usually planted at a junction or trailhead.
A few patterns show up again and again:
- One blaze means keep going the way you’re already headed
- Two blazes, one offset above the other, usually signal a turn ahead
- A stack of rocks, called a cairn, marks the route where there are no trees to paint
State park systems that maintain blazed trails commonly use that double-mark pattern to warn hikers of a turn before they reach it.
Two offset blazes on the same tree are the trail’s way of telling you to slow down and look for a turn.
Matching blazes to the map is one habit. What to do if you still lose the trail anyway is covered in the full playbook for staying found on a hike.
Orienting the map without a compass
You don’t need a compass to line up a paper map with the world in front of you. You need two landmarks you can already see.
The process is short:
- Pick a landmark you can spot on both the map and the horizon, a peak, a water tower, a distinct ridge
- Turn the whole map, not just your body, until the line to that landmark on paper points toward the real thing
- Check a second landmark. If it lines up too, the map is oriented correctly
The same contour shapes you read on paper are the ridges and drainages sitting right in front of you.
You don’t need a compass to orient a map, only two landmarks you already recognize.
The same contour shapes you read on paper are the ridges and drainages sitting right in front of you.
Put the paper map and the phone to work together
You don’t have to choose one tool over the other. Paper and phone do different jobs, and the map-reading skill above works on both.
Look at the paper map before you leave home. Trace the contour lines, check the scale, and get the shape of the route in your head. According to the American Hiking Society, study your maps before you begin the trip.
Once you’re moving, use the phone to confirm you’re where you think you are. The map already told you what to expect; the phone tells you it’s actually happening.
Read the paper at home. Check the phone on the trail.