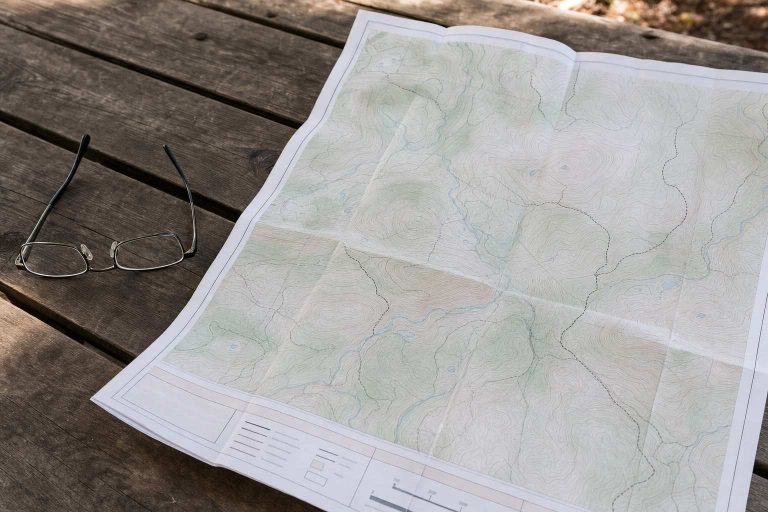
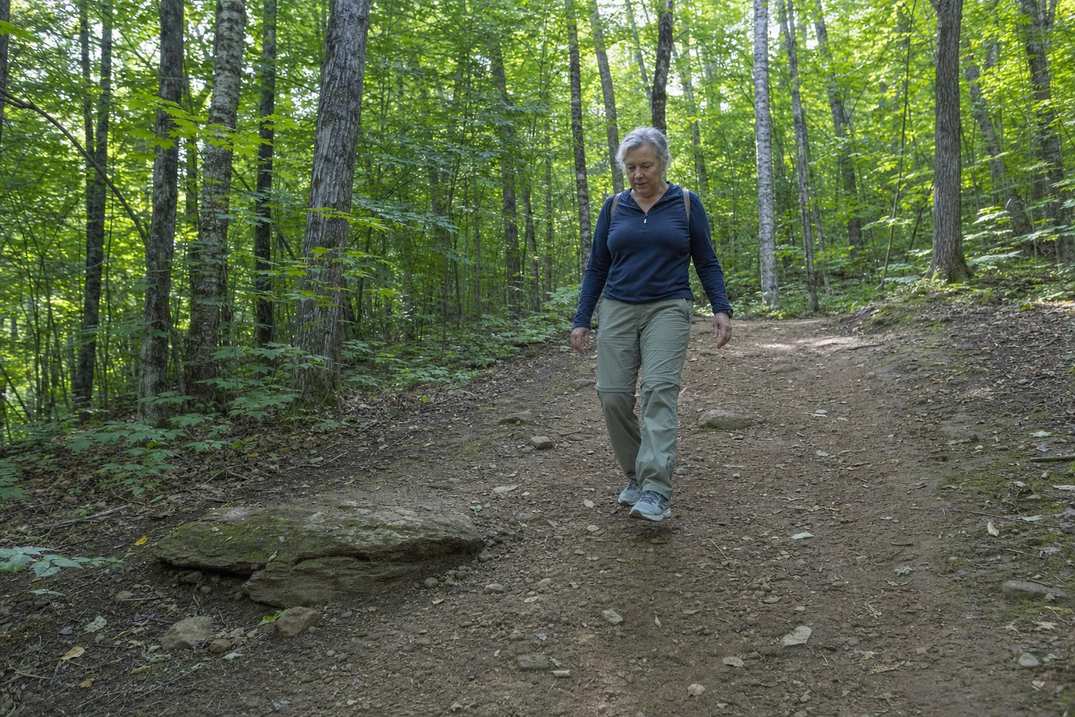
Most ankle sprains on hiking trails happen going downhill, not going up.
Gravity, momentum and tired legs stack up on a descent in a way a climb never quite matches.
If you’ve spent your training focused on the uphill part of a hike, that’s worth rethinking. Technique on the way down does more to keep you upright and pain free than fitness alone.
Downhill technique is a skill you can improve, not a fitness level you’re stuck with. A few adjustments to your stride, your knees and where you look change how the descent feels almost immediately.
Why descents are harder on your joints than climbs
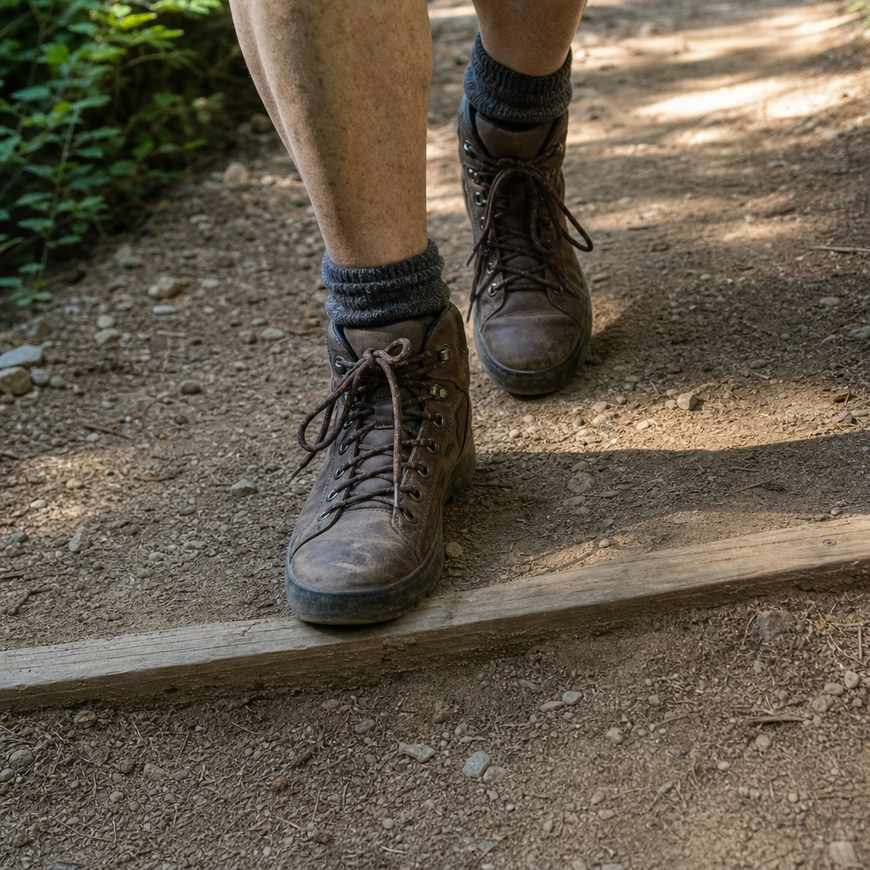
Climbing burns more oxygen, but descending loads your joints more.
Every downhill step works like a small brake. Your leg muscles contract while lengthening, absorbing your body weight plus momentum with each footfall.
That kind of muscle work tires your legs faster than most people expect, and tired legs respond slower when the ground shifts under your boot.
According to the American Hiking Society, most ankle sprains happen when a foot rolls inward on uneven ground. That motion injures the ligaments on the outside of the ankle. Fatigue makes an uneven stretch of trail more likely to catch you off guard late in a hike. That risk grows once your legs have already absorbed hours of impact.
Fatigue, not clumsiness, is usually what turns uneven ground into a sprain.
Most ankle sprains happen on descents, not climbs. Slow down going downhill.
The National Park Service suggests pacing yourself so you can still hold a conversation while you walk. That simple check keeps your legs fresher for whatever the trail asks of them later, descent included.
Shorten your stride and soften your knees
Long, straight-legged strides pound your knees on the way down.
Shorten each step instead, and keep your knees slightly bent as your foot lands.
A soft knee absorbs shock. A locked knee sends that same force straight into the joint.
Locked knees also throw off your balance the moment the trail surface changes underfoot.
This adjustment matters more with age, because cartilage and tendons recover from impact more slowly than they did decades ago. Shorter steps simply give your body less force to manage on each one.
Pick your line two steps ahead
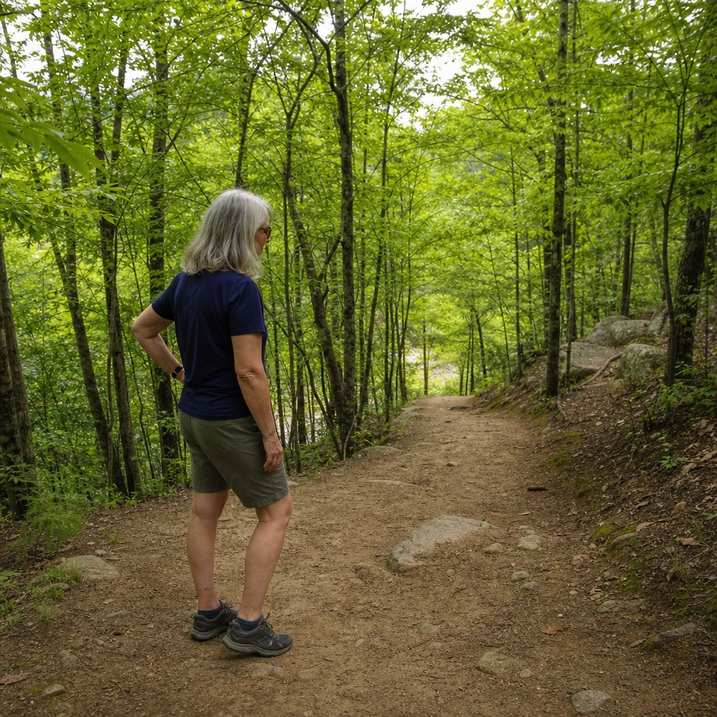
Watch the trail two or three steps ahead of your feet, not straight down at them.
That gives you time to choose solid ground before you commit your weight to it.
Three kinds of trail surface cause most of the slipping:
- Loose gravel or scree
- Wet roots and rocks
- Dry leaves hiding a rock or root underneath
On a steep or loose stretch, angle your steps slightly across the slope instead of walking straight down it. That’s the same principle switchback trails are built on.
Every downhill step works like a small brake. Your leg muscles contract while lengthening, absorbing your body weight plus momentum with each footfall.
Before you leave home, checking a trail’s grade percentage tells you which sections deserve this kind of attention and which ones don’t. Most easy, well-maintained trails only ask for careful footing on a handful of short pitches.
Let a trekking pole take some of the load
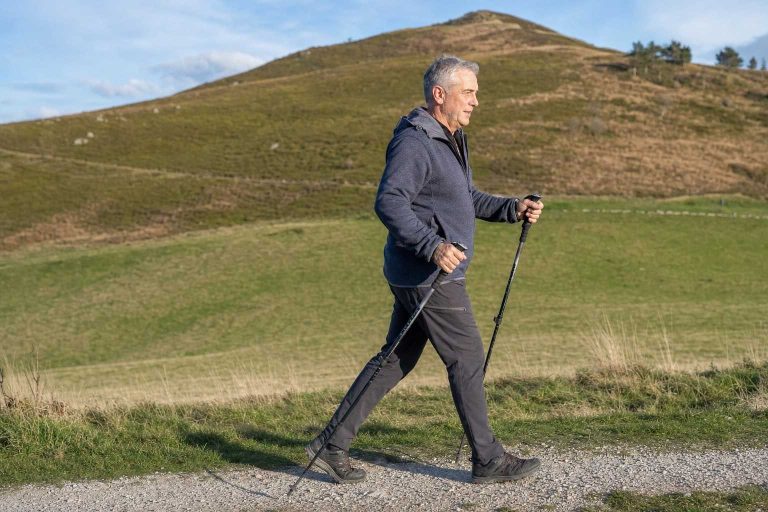
Trekking poles give you a third and fourth point of contact on a slope your feet don’t have alone.
Plant a pole slightly ahead and to the side before your foot lands, then lean into it as you step down.
That small assist takes real weight off your knees and ankles over a long descent. The relief matters most in the last mile, when your legs are tired and your form starts to slip.
Not every pole fits every hiker the same way. Looking at trekking poles built for stability and easy length adjustment is worth the ten minutes before your next trip.
Recovery matters as much as technique
Downhill technique protects you during a hike. Recovery protects you between hikes.
Sore, tired muscles absorb impact less effectively, which raises your injury risk on the next descent before you’ve fully recovered from the last one.
Adults over 50 should allow 48-72 hours between hikes while building initial fitness.
Rest days are protection, not laziness.
A few signs mean it’s too soon for another descent:
- Soreness in a knee or ankle that lingers more than a day
- Swelling anywhere below the knee
- Balance that feels slightly off, even on level ground
Pushing through any of those is how a manageable ache turns into a real injury. That pattern is exactly what common hiking injuries over 50 tend to follow, and most of them are preventable with small changes like these.
This is general guidance, not medical advice. If you already manage a knee or ankle condition, ask your doctor or physical therapist which of these adjustments make sense for your joints.
Before you start down
None of this requires new gear or a training plan. It requires a few habits you can use on your very next descent.
- Shorten your stride and keep a slight bend in your knees
- Look two or three steps ahead, not straight down at your boots
- Choose firm ground over loose gravel, wet leaves or loose rock
- Angle across a steep or loose slope instead of walking straight down it
- Plant a trekking pole ahead of each step on longer descents
- Stop and rest before your legs feel shaky, not after