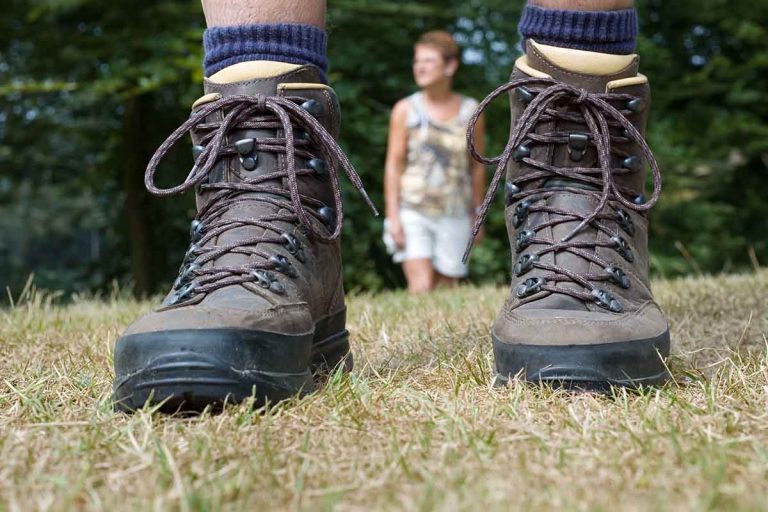
A hiking descent asks your knee to absorb your body weight with every step, not just carry it. Your quadriceps and glutes decide how well that joint copes, more than your cardio fitness does.
That sounds worse than it is.
This kind of strength is trainable at home. The muscles that protect a descending knee respond to the same handful of exercises whether you start at 45 or 65. None of them need a gym membership.
Shortening your stride, bending your knees and picking your line are the core moves in good downhill hiking technique. What decides whether your legs can hold that form for three miles is strength, not willpower.
Why a descent asks more of your knee than a climb does
Climbing burns more oxygen. Descending loads the joint harder.
According to Cleveland Clinic, an eccentric contraction happens when a muscle lengthens while it produces force, the same action your legs use lowering into a squat. A downhill step asks your quadriceps to do exactly that, absorbing your weight instead of just carrying it.
That lengthening-under-load action, not the impact of the step itself, is what wears out an untrained leg first.
Your knee is not fragile. It is working a different job on the way down, one that needs different strength than climbing does.
The muscles that decide whether your knee copes
Two muscle groups do most of the work. Your quadriceps, the muscles across the front of your thigh, control how smoothly your knee bends and straightens with each step.
Cleveland Clinic notes that when quad muscles lack good strength, the knee can become unstable, raising the risk of injuries like meniscus or ACL tears.
Your hips matter just as much. Cleveland Clinic describes the hip abductor muscles, including the gluteus medius, as holding your pelvis level while you walk, pulling it back into place each time you lift the opposite foot.
Hip strength keeps your knee tracking straight over your foot instead of drifting inward with every step.
Ankle sprains and muscle strains are the injuries adults over 50 are most likely to face on a hike. Both trace back partly to weak stabilizing muscles around a joint.
Weak hips are often the missing piece when a knee ache shows up only on the way down.
A quick safety check before you start
This is general conditioning information, not medical advice, and it does not replace guidance from your own doctor.
If you already manage a diagnosed knee or hip condition, arthritis, or a prior joint replacement, check with your doctor or a physical therapist before starting any of this. They can tell you which exercises fit your actual joint, not a generic one.
Sit-to-stands are the single best home exercise for hiking legs
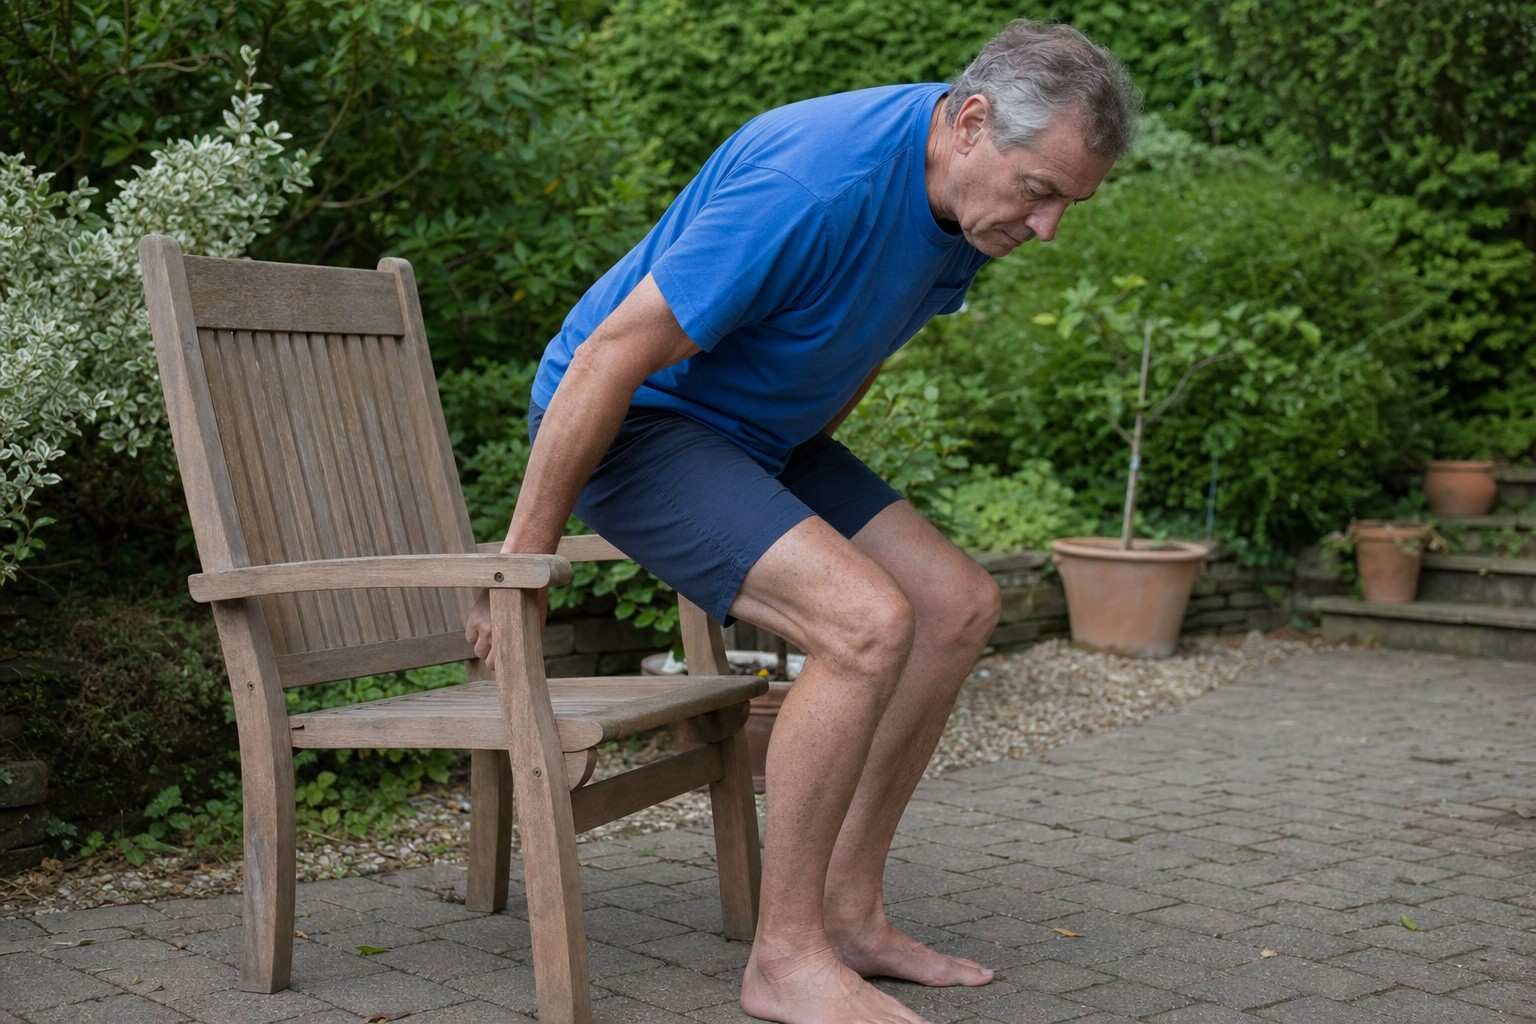
Cleveland Clinic lists the sit-stand among its core quad exercises: standing up from a chair without using your hands, then lowering back down with control instead of dropping into the seat.
Start with your hands resting lightly on your thighs or the chair arms if you need the balance help. Aim for two to three sets of 10 to 15 repetitions.
Slow the sitting-down phase to a full three count.
The three-count lowering is the part that builds strength; standing back up simply resets you for the next rep.
A downhill step asks your quadriceps to do exactly that, absorbing your weight instead of just carrying it.
That slow lowering is the same lengthening-under-load work a downhill step demands. Training it on a chair at home is safer than learning it for the first time on a steep trail.
Supported squats and slow step-downs train the exact motion of a descent
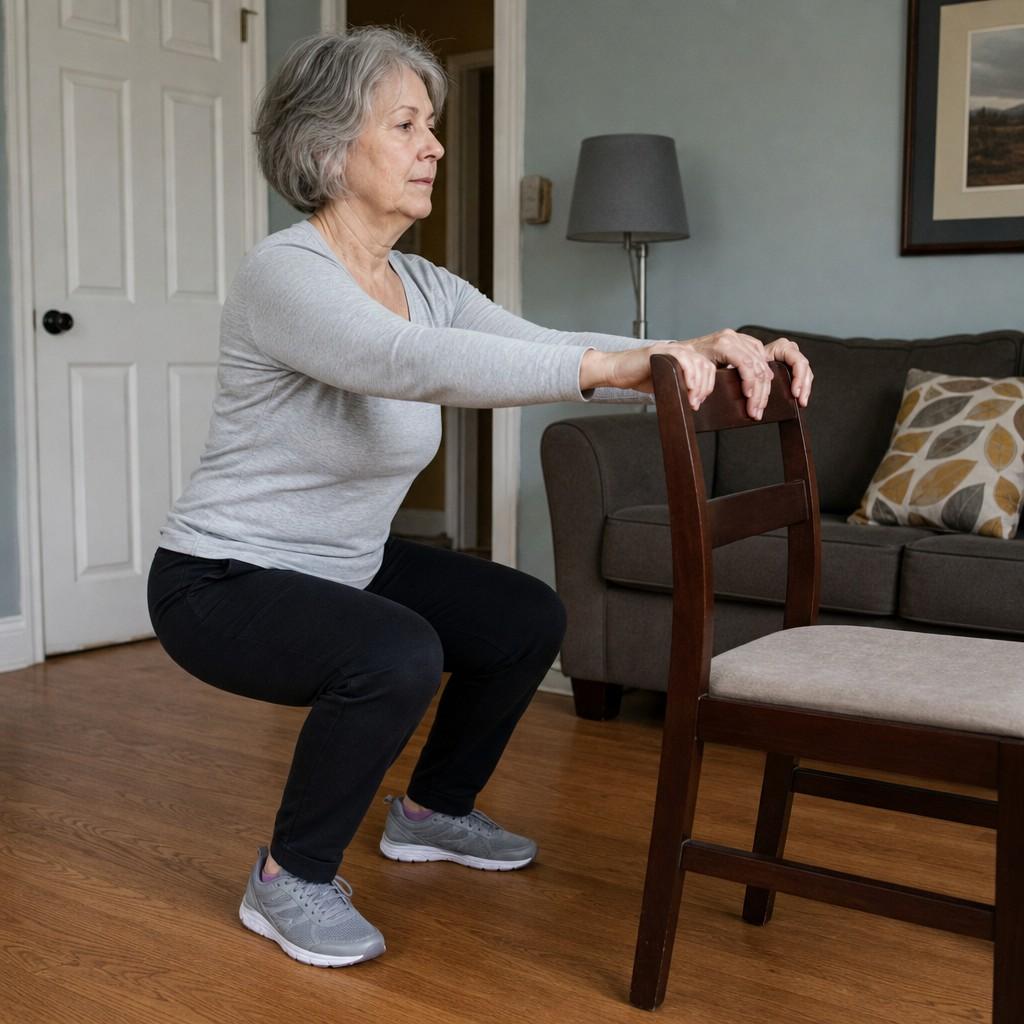
A supported squat means holding a counter or sturdy rail while you bend your knees partway. It builds the same strength, with your hands free to catch your balance.
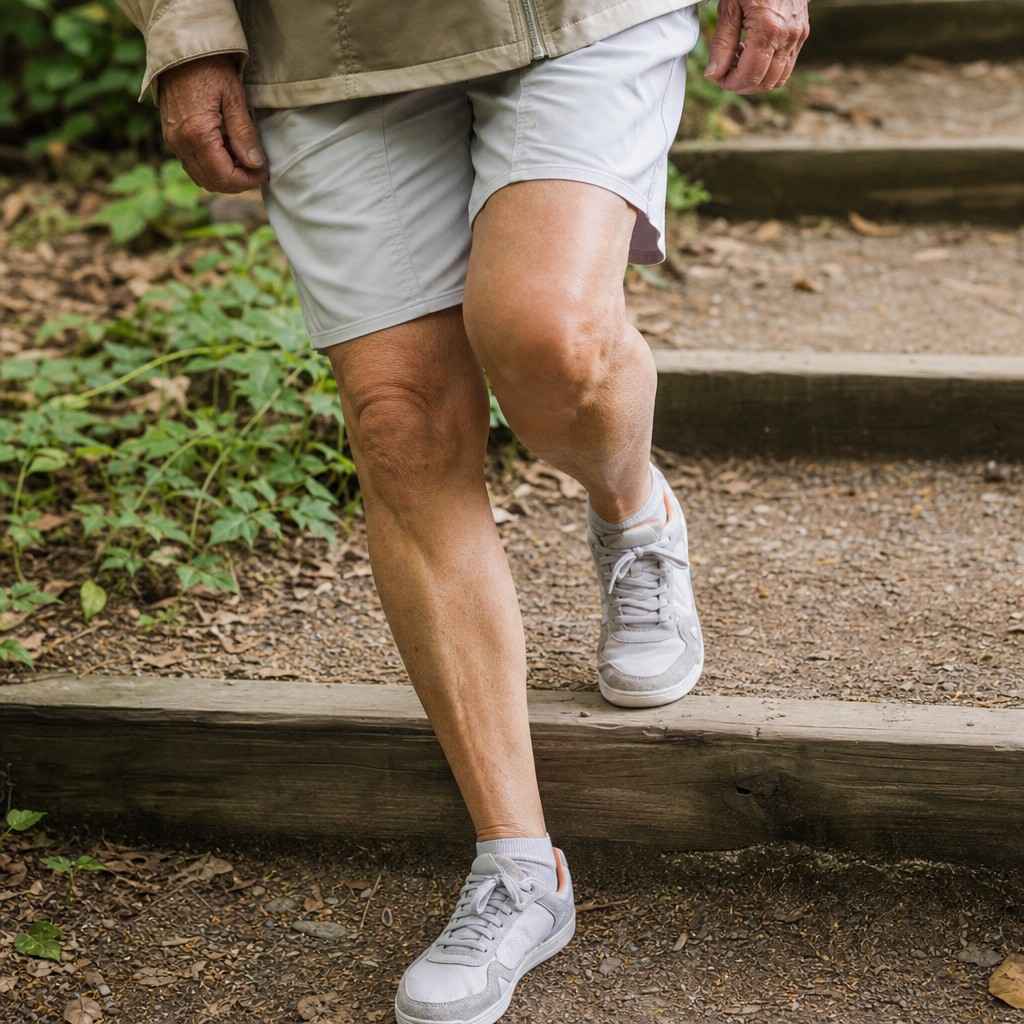
A step-down goes further. It isolates one leg at a time, which is exactly how a trail loads you.
- Stand at the bottom of a staircase with one foot on the step above.
- Bend that knee slowly, lowering your other foot until it barely taps the floor.
- Take three full seconds on the way down. The lowering, not the standing back up, is what trains the joint.
- Hold the rail lightly for balance while you learn the motion.
The slow count matters more than the number of reps here. Five controlled step-downs teach your knee more than twenty rushed ones.
Hip abduction work keeps your knee tracking straight
A knee that drifts inward with every step is carrying load at the wrong angle, and hip strength is what keeps it from drifting.
None of these exercises need a resistance band, though one adds challenge later.
- Standing side leg raise, holding a chair or counter for balance.
- Side-lying leg lift on the floor, top leg raised and lowered slowly.
- Clamshells, lying on your side with knees bent, opening the top knee like a book.
Hip drift shows up as knee ache, even though the knee itself is often fine.
Hip strength keeps your knee tracking straight over your foot instead of drifting inward with every step.
Two sets of 12 to 15 per side, three times a week, is the target. Give it a few weeks, and you should notice a difference in how stable a descent feels.
How often to do this, and how to know it is working
According to the CDC, adults 65 and older should get muscle-strengthening exercise on two or more days a week, covering the major muscle groups including the legs and hips.
Adults over 50 should allow 48-72 hours between hikes while building initial fitness.
That same rest window works for these exercises. A strength session and a hike both ask your legs to recover. Space them out rather than stacking a hard leg day the morning before a trail.
A strength gap almost always shows up first as knee soreness on the way down, not as fatigue on the way up.
Progress looks like this. The sit-to-stand gets easier without using your hands, and the step-down feels controlled instead of wobbly. Soreness after a descent also fades faster than it used to.
What strength work will not fix
None of this replaces matching footwear to your first hikes or choosing a trail that fits your current fitness.
Turn around at 50% energy, not when you’re tired. The return hike requires equal effort. Stronger quads and hips make that pacing rule easier to hold to, not optional to skip.
This work has real limits, and it helps to know them going in.
- An already-diagnosed joint condition, like arthritis or a prior replacement, needs its own care plan from a doctor or physical therapist. Home exercises alone are not enough.
- A pack heavier than your training accounts for adds load these muscles were never asked to carry.
- A trail with more elevation or distance than your current fitness supports is a trail-choice problem, not a strength problem.
Strength work fixes what conditioning can fix. It was never meant to replace medical care, gear judgment, or conservative pacing.
For an already painful knee, a knee brace can add stability while these muscles catch up. It supports the joint rather than strengthening what surrounds it, which is the gap these exercises are built to close.