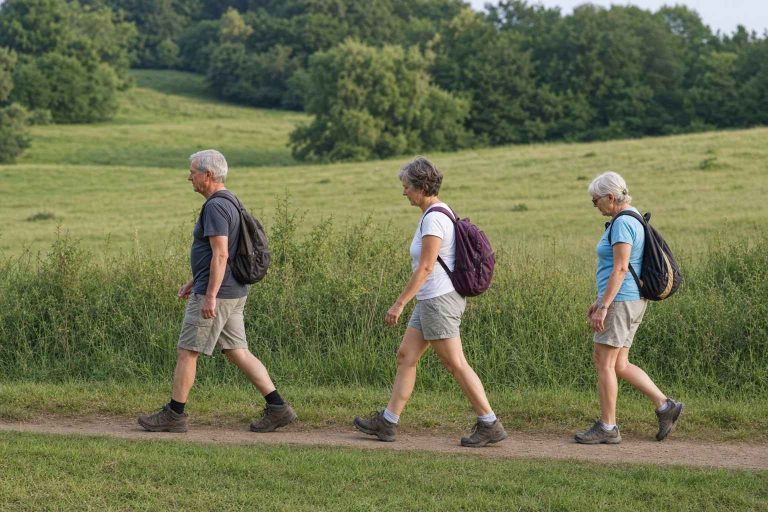
Most people who carry trekking poles never actually use them right.
They dangle from the wrist loops, tap the ground out of habit, and get shoved into a pack the moment the trail flattens out.
That is not what poles are built for.
Used correctly, poles take real weight off your knees and give you two extra points of contact on rough ground.
Used the way most beginners carry them, they are just dead weight with straps.
This guide covers the mechanics that make the difference: the strap, the length, and the rhythm.
It also covers the habits that quietly cancel out everything poles are supposed to do.
The strap does the work, not your grip
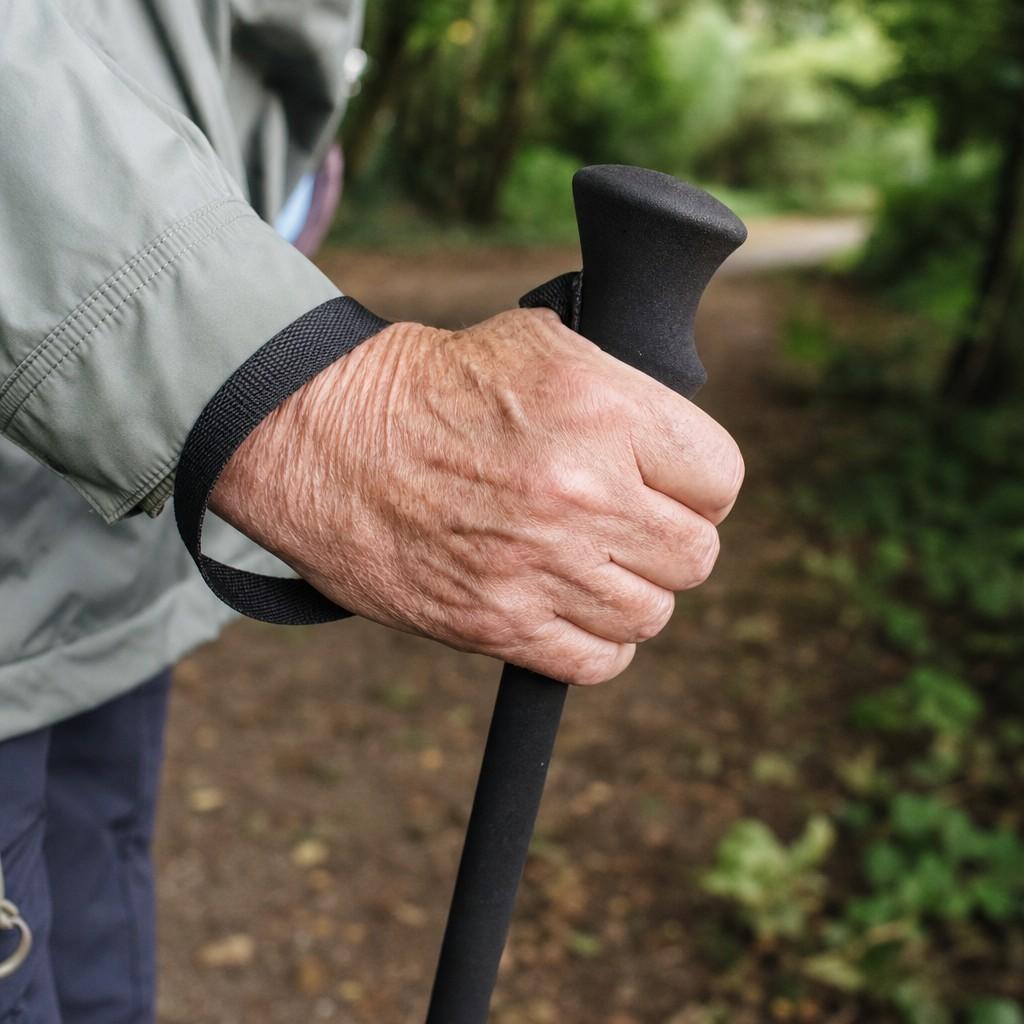
Grip the handle alone, and your poles are only as strong as your fist.
Thread your hand up through the strap from below, then close your hand around both the strap and the handle together.
Your palm should rest on the strap, not just on the grip.
The strap carries your weight, not your fingers.
When you push down through a plant, the strap transfers that force from your wrist straight into the pole. Your grip barely has to work at all.
This one adjustment is often the difference between arm fatigue after twenty minutes and poles that still feel easy after two hours.
If arthritis or grip strength makes the standard strap-and-handle combination hard to manage, you are not stuck with it.
Our guide to hiking gear adaptations for adults over 50 covers strap and grip changes worth trying first.
Get the length right before you take a step
A pole set to the wrong length fights you with every stride.
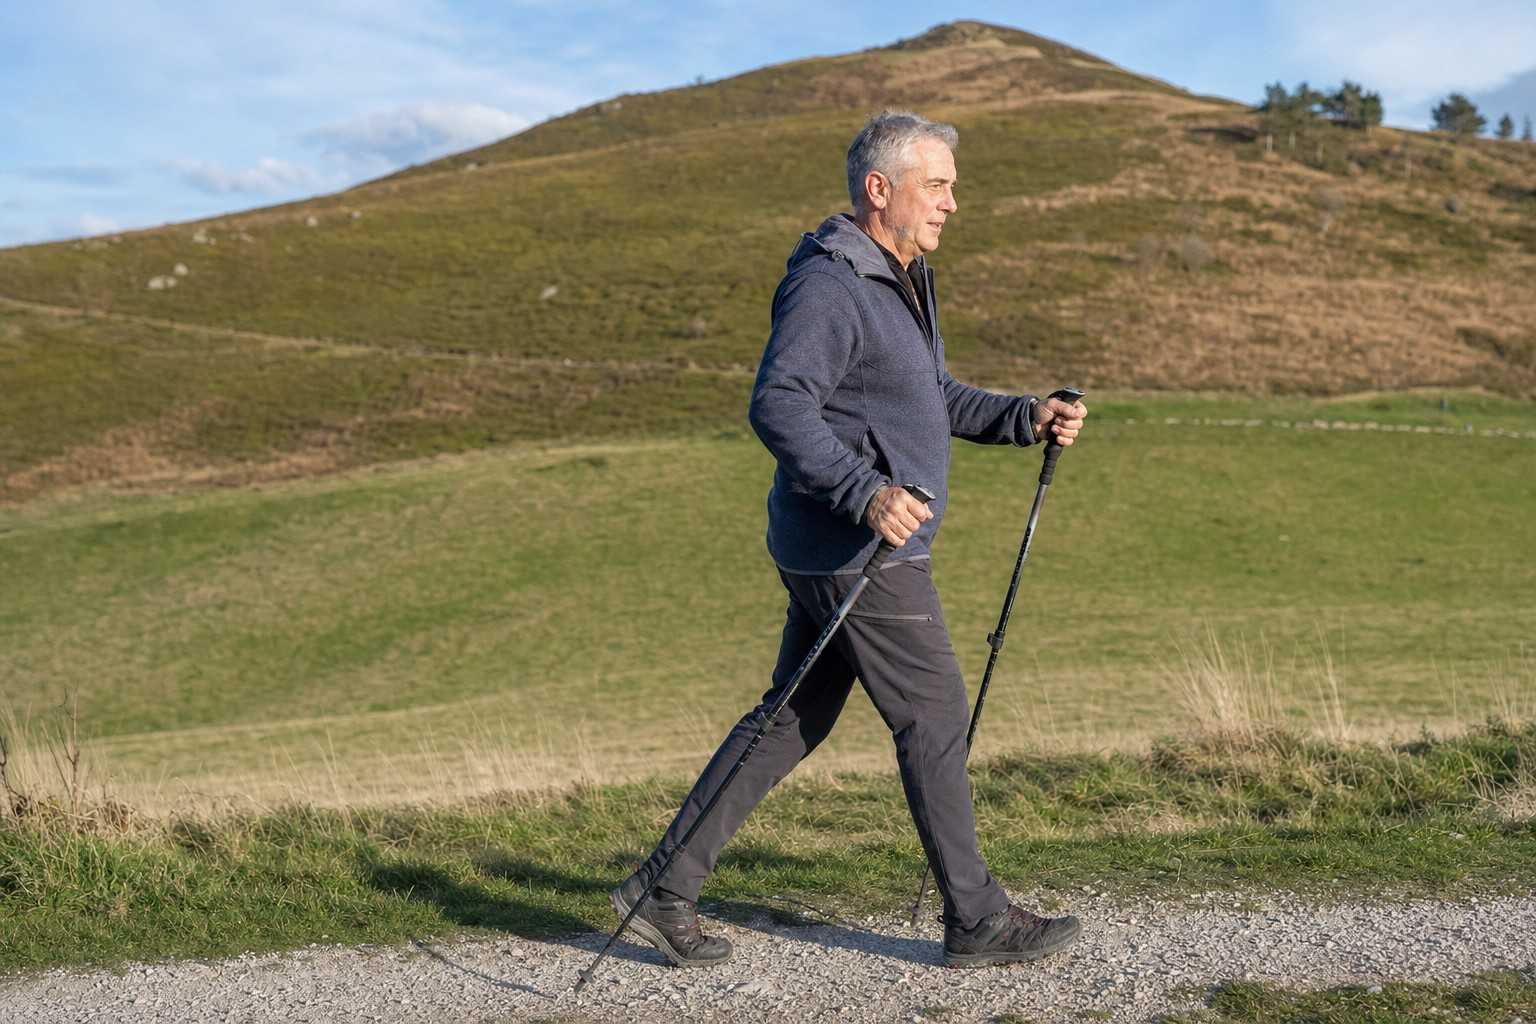
On flat ground, your elbow should sit close to a 90 degree angle when the tip touches the ground beside your foot.
Too long, and your shoulder hikes up with every plant. Too short, and you end up hunched forward reaching for the ground.
Most adjustable poles have a flip lock or twist lock built for exactly this.
Set it once at the trailhead on level ground, then plan to adjust again once the terrain changes.
Check that elbow angle standing still, before you take a single step.
Three quick checks tell you if a pole is set right:
- Stand tall, no slouching toward the pole
- Plant the tip level with the side of your foot
- Look down at your arm; close to a right angle means you are set
If you have not settled on a pair yet, our roundup of trekking poles built for older hikers is a good next stop.
It walks through grip shape, weight, and adjustment range in more depth than a length guide alone covers.
Alternate the poles on flat ground
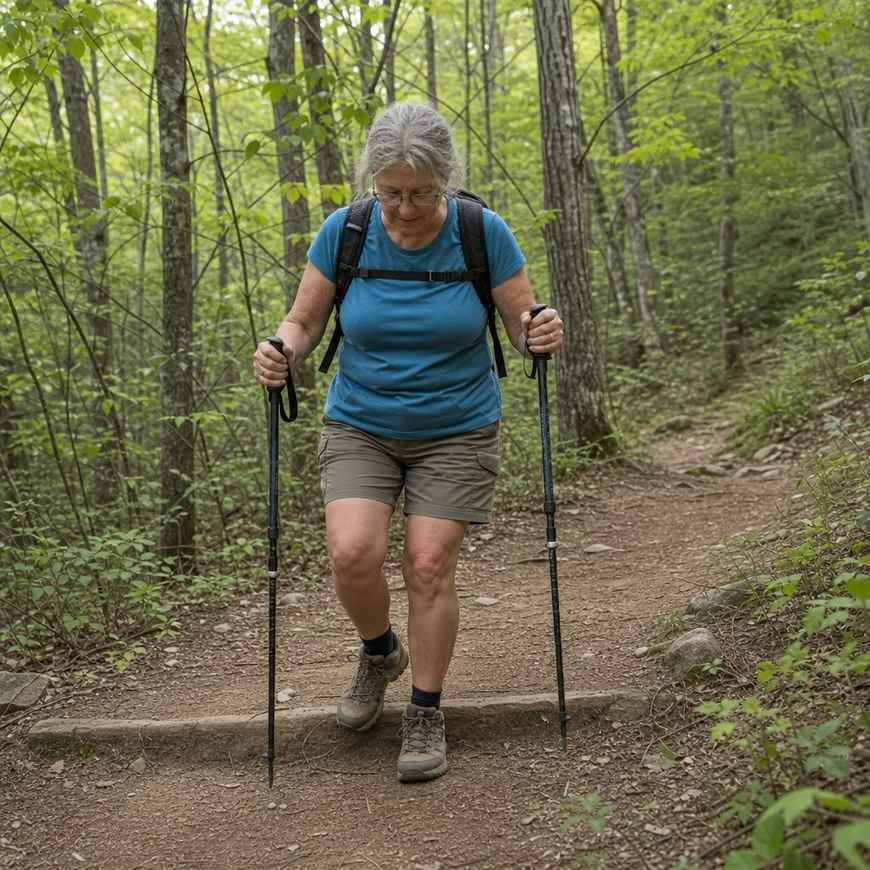
On level trail, poles move opposite your feet, the same natural swing your arms already make when you walk without them.
Right foot forward, left pole plants. Left foot forward, right pole plants.
It should feel like walking with slightly longer arms, not like a separate task layered on top of walking.
Used correctly, poles take real weight off your knees and give you two extra points of contact on rough ground.
Some beginners plant both poles at once, more like ski poling, or jab the ground ahead of every single step.
Alternating support is what makes the motion disappear into your normal stride, and both of those habits work against it.
The best place to practice is a trail you already know is easy. Start with trails under 300 feet of elevation gain for your first five hikes. Use that flat, forgiving ground to groove the alternating motion before elevation adds anything else to think about.
Shorten going up, lengthen going down
Fixed length poles fight the terrain the moment it stops being flat.
Going uphill, shorten each pole by roughly 5 to 10 centimeters.
A shorter pole plants closer to your body on a climb, so you can push off it instead of reaching up and over it.
Going downhill, lengthen the poles by about the same amount.
A longer pole meets the ground sooner on a descent, giving you support before your leading foot fully commits to the step.
According to the American Hiking Society, poles let the upper body take over some of the cushioning work usually left to the knees. That is a large part of why a well adjusted descent feels less punishing.
Most poles adjust in seconds, so do it at the top and bottom of any real grade, not only once your knees start complaining.
Planting poles protects your knees on descents
This is where poles earn their keep the most.
Plant the tip slightly ahead of your body on the way down, not directly under you.
That gives the pole time to absorb some of your weight before your foot lands.
A review in Wilderness & Environmental Medicine, the Wilderness Medical Society’s journal, looked at exactly this question. It found trekking poles decrease lower extremity loading and forces. Balance and stability improve too, though cardiovascular demand goes up in exchange.
Less strain on the joints costs a little more effort elsewhere.
For most adults managing knee wear on long downhills, that is a fair trade.
If you have an existing knee or shoulder issue, check with your doctor before changing your usual hiking routine.
It is worth the five minutes it takes.
Common descent habits that undercut this protection:
– Letting the poles trail behind you instead of planting ahead
– Locking your elbows instead of letting them absorb a little shock
– Holding the poles loosely instead of using the strap
The habits that make poles pointless
A pole in your hand does nothing if you are not actually loading it.
Carrying poles without weighting them is the single biggest reason beginners feel like poles do not do much.
Tapping lightly instead of planting with real force never gives the pole a job to do.
Poles only help if you actually push through them.
A light tap tells your joints nothing changed. A real plant, with your weight briefly moving through the pole and into the strap, is what reduces the load on your knees.
Plant the tip slightly ahead of your body on the way down, not directly under you.
Your shoulders and forearms are doing new work too, work they have not done on a regular walk. Adults over 50 should allow 48-72 hours between hikes while building initial fitness. That recovery window matters for arms as much as it does for legs.
When poles are not worth the hassle
Poles are not mandatory gear for every hike.
A short, flat, well maintained trail with no real descent gives poles very little to do. If your hands would rather carry a coffee or take photos, leaving them at the trailhead costs you nothing.
Knee or ankle strain is usually why someone starts looking at poles in the first place. Our guide to common hiking injuries over 50 and how to prevent them covers that ground in more depth. Poles help with some of it, but not all of it.
Poles earn their place when a hike includes:
- A real descent, not just a gentle slope
- Loose footing, roots, or uneven surfaces
- Stream crossings or a pack heavier than usual
On an easy loop with none of that, poles are one more thing to manage for very little benefit.