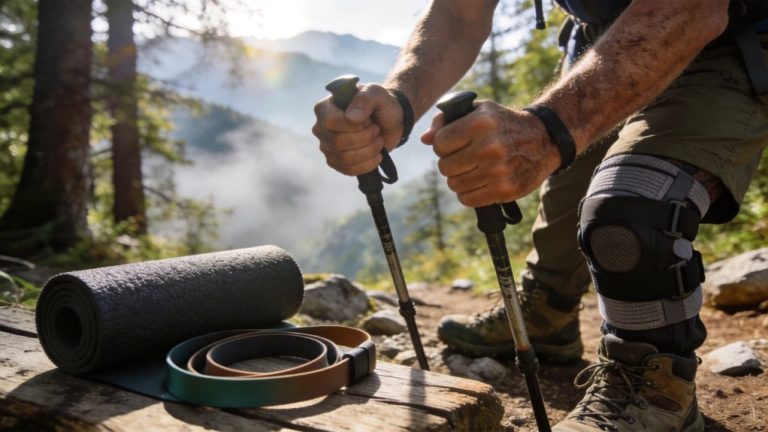
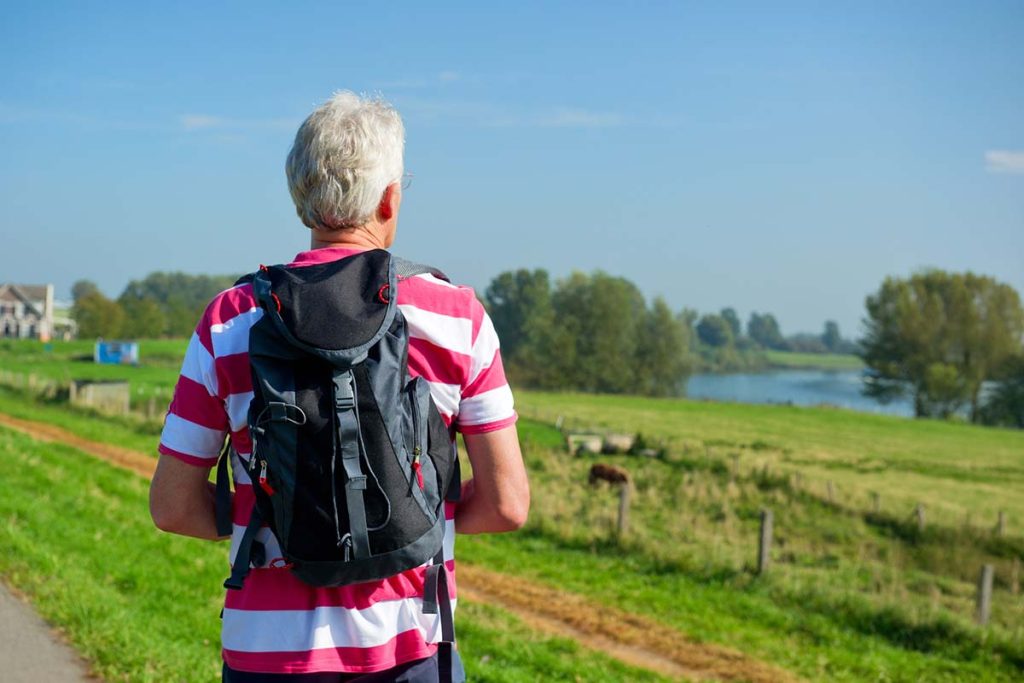
Start with any backpack you own for your first 3-5 hikes. Upgrade to a proper day pack when specific triggers appear: hikes extending past two hours, summer heat above 80°F (27°C), shoulder discomfort, or uneven terrain affecting your balance.
This guide covers when upgrading matters, five essential features for adults 40-70, and basic fitting principles. Recommendations based on ergonomic research from the Wilderness Medicine Society and age-calibrated needs for hikers 50-65.
When You Need a Real Hiking Pack?
Your gym bag or basic backpack works fine initially. You’re testing whether you enjoy hiking, and lightweight gear suffices for short maintained trails.
For your first 3-5 hikes, any backpack handles:
- What you’re carrying: one liter of water, snacks, phone, light jacket
- Where you’re going: paved paths, trails under 3 miles (4.8 km)
- Why it’s fine: total weight under 5 pounds (2.3 kg), minimal stress on shoulders
Five specific triggers tell you it’s time to upgrade.
Water weight increases: Hikes extending past two hours require two liters of water minimum. That’s 4.4 pounds (2 kg) of water alone. Regular backpacks concentrate this weight on your shoulders.
Heat amplifies discomfort: Summer temperatures above 80°F (27°C) turn non-breathable backpacks into sweat traps. Adults over 50 experience reduced heat tolerance according to the Wilderness Medicine Society. A soaked shirt against your back accelerates heat buildup.
Trail conditions matter: Dusty or muddy trails destroy the backpack you use daily for work or errands. A dedicated trail pack eliminates constant cleaning.
Shoulder or back pain appears: Weight concentrated on shoulders strains neck muscles and rotator cuffs. This becomes more pronounced after age 50 when shoulder joints handle stress less efficiently.
If temperatures will exceed 85°F during your hike, reschedule. Heat safety outweighs pushing through.
Balance becomes critical on uneven terrain: Pack sway affects your footing on rocky descents or root-crossed trails. Older adults rely more heavily on upper body stability for balance.
The math: a $70-100 day pack eliminates ongoing discomfort and protects your regular bag. When 2-3 triggers appear, upgrade.
Five Features That Actually Matter
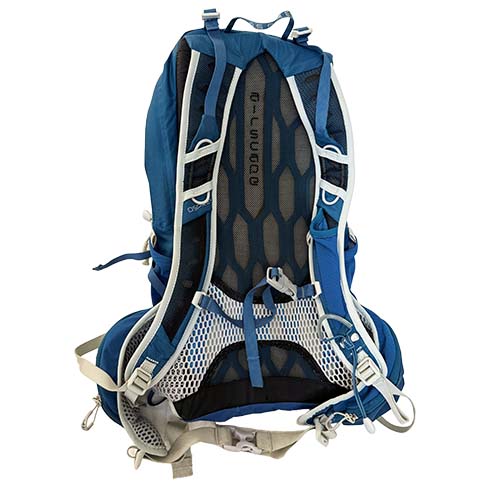
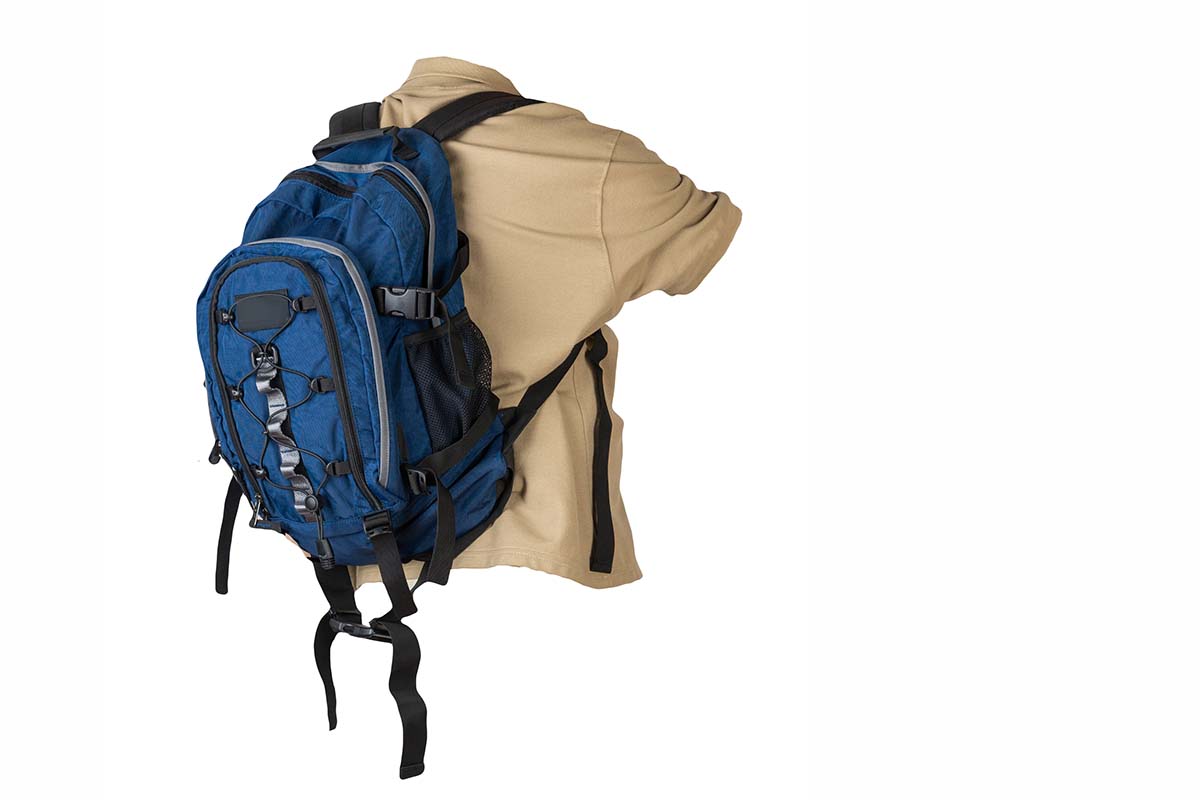
1. Hip Belt (Non-Negotiable)
A padded hip belt transfers 70-80% of pack weight from your shoulders to your hips, reducing shoulder fatigue and protecting rotator cuffs according to ergonomic research.
The hip belt rests on your hip bones (iliac crest), not your waist. When properly positioned and tightened, it carries the load while your shoulders simply stabilize the pack.
This becomes non-negotiable for hikes over 3 miles (4.8 km) or loads exceeding 5 pounds (2.3 kg). Shoulder-only carrying strains neck muscles and upper back, causing pain that worsens over subsequent hikes.
A properly fitted hip belt transfers 70-80% of pack weight from shoulders to hips, reducing fatigue and protecting rotator cuffs.
Adults 40-70 benefit most because shoulder strength and joint resilience decline with age, making efficient load distribution essential.
2. Breathable Back Panel and Shoulder Straps
Mesh construction allows air circulation between the pack and your body. This prevents the sweat-soaked shirt that turns every break into a chilling experience.
Look for suspended mesh panels or ventilated foam with air channels. The gap between your back and the pack material makes the difference between comfortable hiking and heat exhaustion risk.
According to the Wilderness Medicine Society, adults over 50 experience reduced heat tolerance and diminished thirst response. A breathable pack helps regulate body temperature when your natural cooling becomes less efficient.
The practical difference: finishing a four-hour hike with a damp shirt instead of a soaked one, reducing heat stress that compounds with age.
3. Chest Strap
The chest strap connects your shoulder straps across your chest, preventing pack sway during movement. This matters significantly more on uneven terrain.
Balance becomes increasingly important for adults 40-70 navigating rocky descents or root-crossed trails. A swaying pack pulls your center of gravity unpredictably, forcing constant small corrections that exhaust stabilizing muscles.
Most ankle sprains happen on descents, not climbs. Slow down going downhill.
Position the chest strap 2-3 inches (5-7.6 cm) below your collarbone. Too high restricts breathing; too low fails to control sway.
The difference: confident footing on technical sections versus hesitation caused by pack movement.
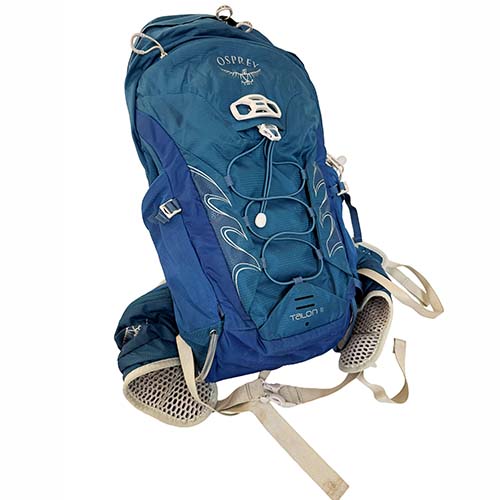
4. Easy Water Access
Side mesh pockets that hold water bottles securely while allowing easy access when you stop to drink. This supports proper hydration protocol.
Drink one liter of water per two hours of hiking, on schedule not when thirsty. Your thirst response diminishes with age, making scheduled drinking essential rather than optional.
Look for stretch mesh side pockets that hold bottles without requiring you to dig through your pack’s main compartment. Stopping to drink every 30-45 minutes is normal and gives you natural rest breaks.
Some packs include reservoir sleeves for hydration bladders with drinking tubes. This might be useful for very hot conditions where you want to sip frequently without stopping, but not necessary for most beginner hiking.
5. Durable, Cleanable Materials
Ripstop nylon resists tears and wipes clean after dusty trails or muddy conditions. Look for water-resistant coating and reinforced bottoms.
Having a dedicated trail bag means your regular backpack stays clean for daily use. You’ll hike more often when cleanup doesn’t involve scrubbing dirt from the bag you carry to work.
Quality materials last 5-10 years of regular use, making the initial investment worthwhile compared to replacing cheap packs annually.
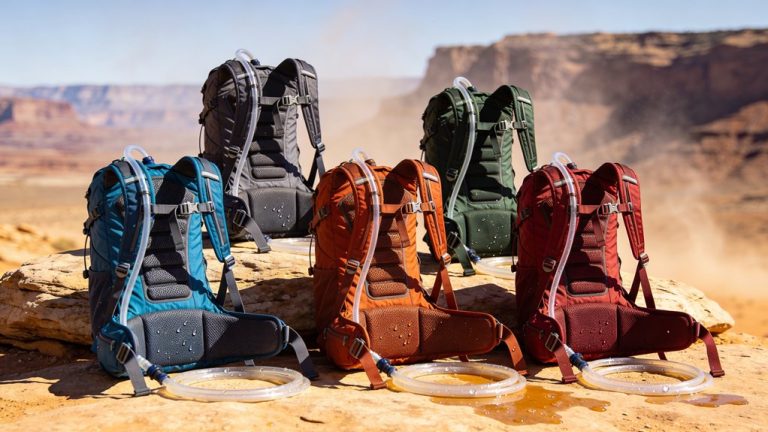
Capacity: How Big?
Pack capacity determines what you can carry comfortably. Day packs range from 10-25 liters, measured by internal volume.
10-20 Liters: First 10-20 Hikes
This size holds:
- Two liters of water
- Full lunch
- Light jacket or fleece
- Essential items (phone, first aid, sunscreen)
Best for hikes lasting 1-4 hours on maintained trails with restroom facilities. Most beginners stay in this range for their first season.
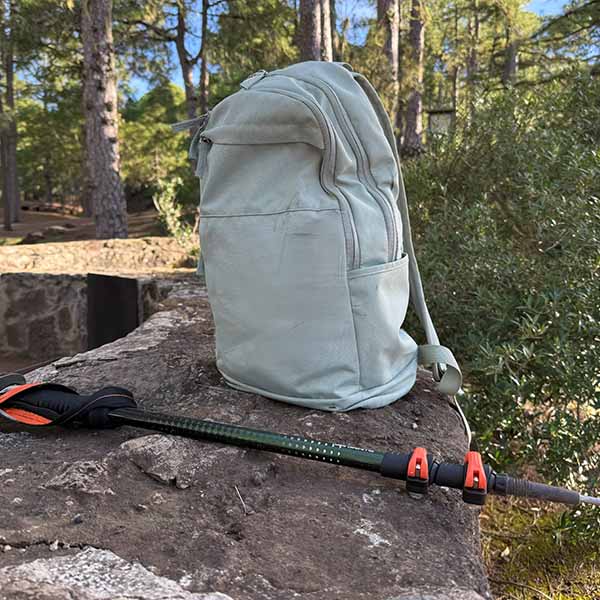
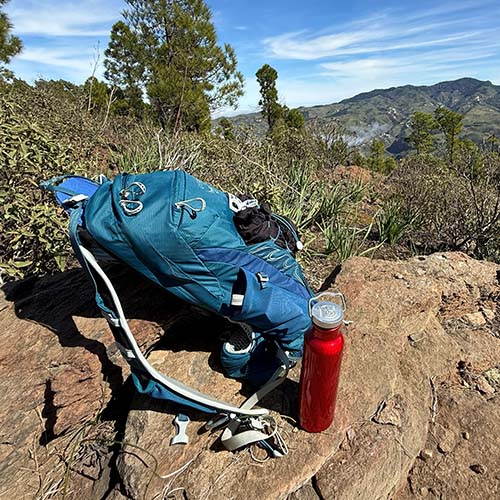
I started with an 11-liter pack (roughly the size of a basketball): perfect fit, lightweight, handled my first 20 hikes easily. But on longer hikes past three hours, it got cramped fast when I needed extra water, snacks, and layers. The front bungee panel saved me by letting me hang overflow items externally. That cramped feeling was my trigger to understand capacity needs.
20-25 Liters: All-Day Adventures
This size accommodates:
- Three liters of water
- Complete lunch plus snacks
- Extra layers for weather changes
- Expanded first aid kit
- Emergency items
Best for hikes lasting 4-6 hours, remote trails without facilities, or variable weather conditions.
Why Not Bigger?
Larger packs weigh more empty (target under 2 pounds/0.9 kg for day packs). They tempt you to overpack, adding unnecessary weight that stresses joints and reduces endurance.
Proper fit becomes harder to achieve in larger volumes because the weight distribution changes significantly.
For your complete packing list, see our hiking gear for beginners guide.
Basic Fitting
Measuring Your Torso Length
Most day packs come in S/M/L sizing based on torso length, not height.
Three-step measurement:
- Tilt your head forward and feel for the prominent bone at the base of your neck (C7 vertebra)
- Place your hands on your hip bones with thumbs pointing backward along your iliac crest
- Measure the distance along your spine between these two points
Typical size ranges:
- Small: 15-17 inches (38-43 cm)
- Medium: 17-19 inches (43-48 cm)
- Large: 19-21 inches (48-53 cm)
For day packs, S/M/L sizing works well enough. Overnight backpacking requires more precision.
Critical Fit Points
Hip belt comes first. This carries the weight, so getting it right matters most.
The belt rests on your hip bones (iliac crest), not your waist or belly. When properly tightened, it should carry the load while your shoulders provide stability only.
Test by loosening your shoulder straps completely. The pack shouldn’t slide down your back.
Shoulder straps curve around your shoulders without gaps at the top. The straps should connect to the pack body 1-2 inches (2.5-5 cm) below the top of your shoulders.
No pressure should concentrate on your neck or collarbone. If you feel pinching or pressure points, try a different size.
Chest strap position affects breathing and stability. Place it 2-3 inches (5-7.6 cm) below your collarbone. Tighten enough to prevent sway but not so much that breathing feels restricted.
Load lifters (small straps at the top of shoulder straps) pull the pack closer to your body at a 45-degree angle. These provide fine-tuning after the other adjustments are correct.
The Loaded Walk Test
Fit adjustments mean nothing with an empty pack. Load 8-10 pounds (3.6-4.5 kg) of actual items or weight before testing.
Adjust in order: hip belt first, then shoulders, chest strap, finally load lifters.
Walk for at least five minutes. Short walks around a store reveal nothing. Real discomfort appears after sustained wear.
Test any pack loaded with realistic weight for at least five minutes. Short walks around a store reveal nothing about actual comfort.
Red flags include: hip belt sliding down, concentrated pressure on shoulders, pack swaying side-to-side, restricted breathing, or pain developing anywhere.
For online purchases, buy from retailers with generous return policies. Test at home for 15 minutes minimum, walking up and down stairs if possible.
Features That Matter More for Adults 40-70
Adequate Padding
Shoulder straps should have at least 1 inch (2.5 cm) of foam padding. Hip belts need minimum 0.75 inch (1.9 cm) padding.
This matters more as you age because reduced body fat over hip bones increases pressure sensitivity. Thin padding creates hot spots that develop into pain over multi-hour hikes.
Light Empty Weight
Target packs weighing under 2 pounds (0.9 kg) empty. Many quality day packs weigh 1.5 pounds (0.7 kg) or less.
Every ounce you carry on your back requires energy. Starting with a lighter pack means more energy available for actual hiking.
Easy-Access Features
Hip belt pockets hold your phone and snacks within reach, eliminating the need to remove your pack constantly. Top-loading designs versus panel-loading affects how easily you find items inside.
External water bottle pockets in stretch mesh allow grabbing bottles without stopping or asking a hiking partner for help.
Look for high-contrast interior colors (bright orange or yellow linings) that make finding items easier in dim light or shade.
Start Simple, Upgrade Strategically
Use whatever backpack you own for your first few hikes. Upgrade when you notice specific discomfort or when hikes extend past two hours.
Hip belts become non-negotiable once you’re hiking 3+ miles (4.8 km) or carrying loads over 5 pounds (2.3 kg). Fit matters significantly more than brand names or features lists.
For most beginner day hiking, 15-20 liters provides ample capacity without encouraging overpacking. Test any pack with realistic weight for at least five minutes before purchasing.
When you’re ready to choose a specific pack, our best daypacks for hiking for seniors 2026 guide covers tested recommendations for the 40-70 demographic.